The Big One
We’ve just had a very busy 4 days, in conjunction with track modifications and with great support from Lampitt Rail Services. In that time, we have successfully planted 5 signal posts, dismantled a crossover and moved the components to their new locations, ready for reinstatement. Lots more has gone on at the same time, in the background, that will appear in future posts. This entry looks at the signal post planting…
 |
| Teamwork with the spoons: making adjustments to the hole for No.4 signal |
 |
| Still more to dig out... |
 |
| Battling the ground foe the fixed stop signal |
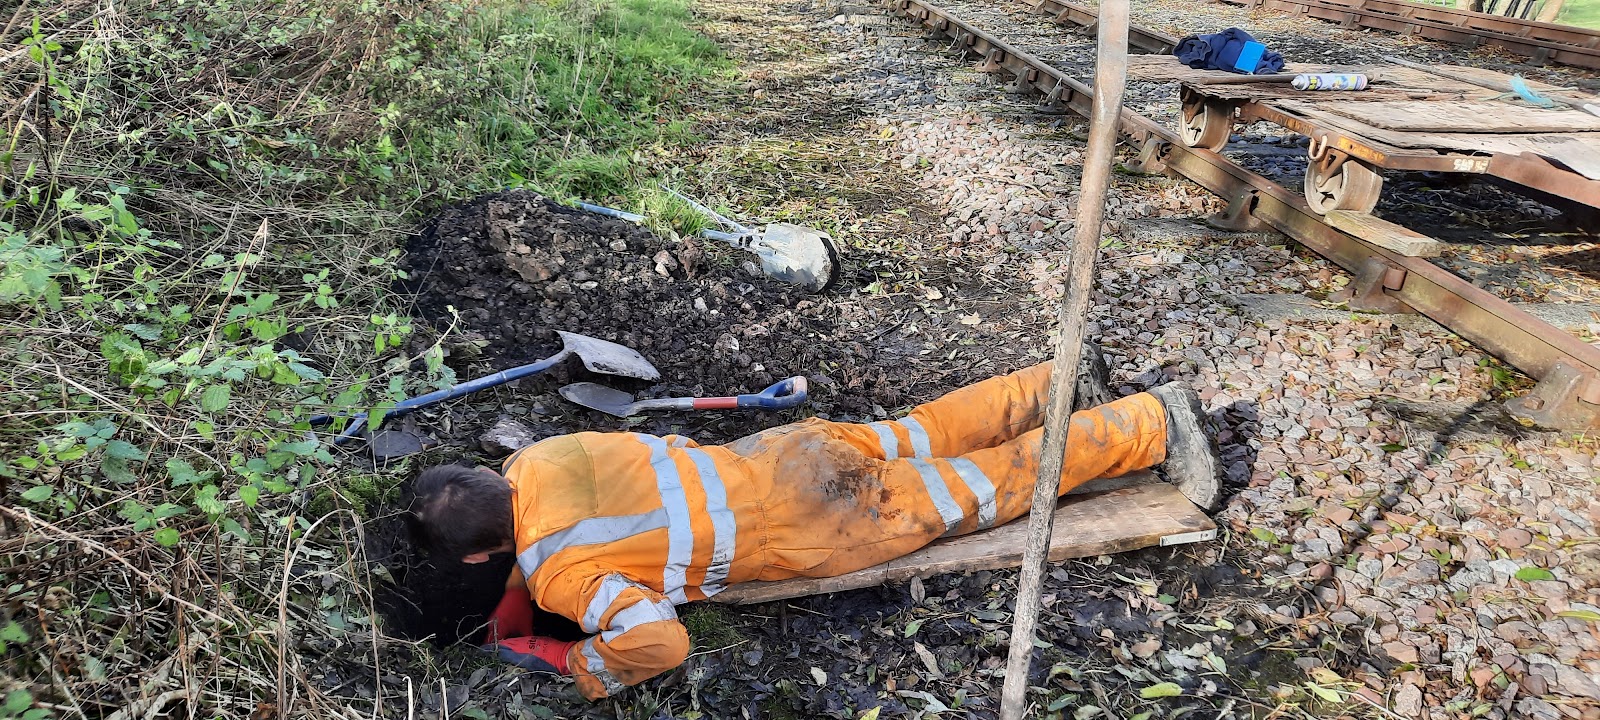 |
| Trying to get the last bits out of the bottom |
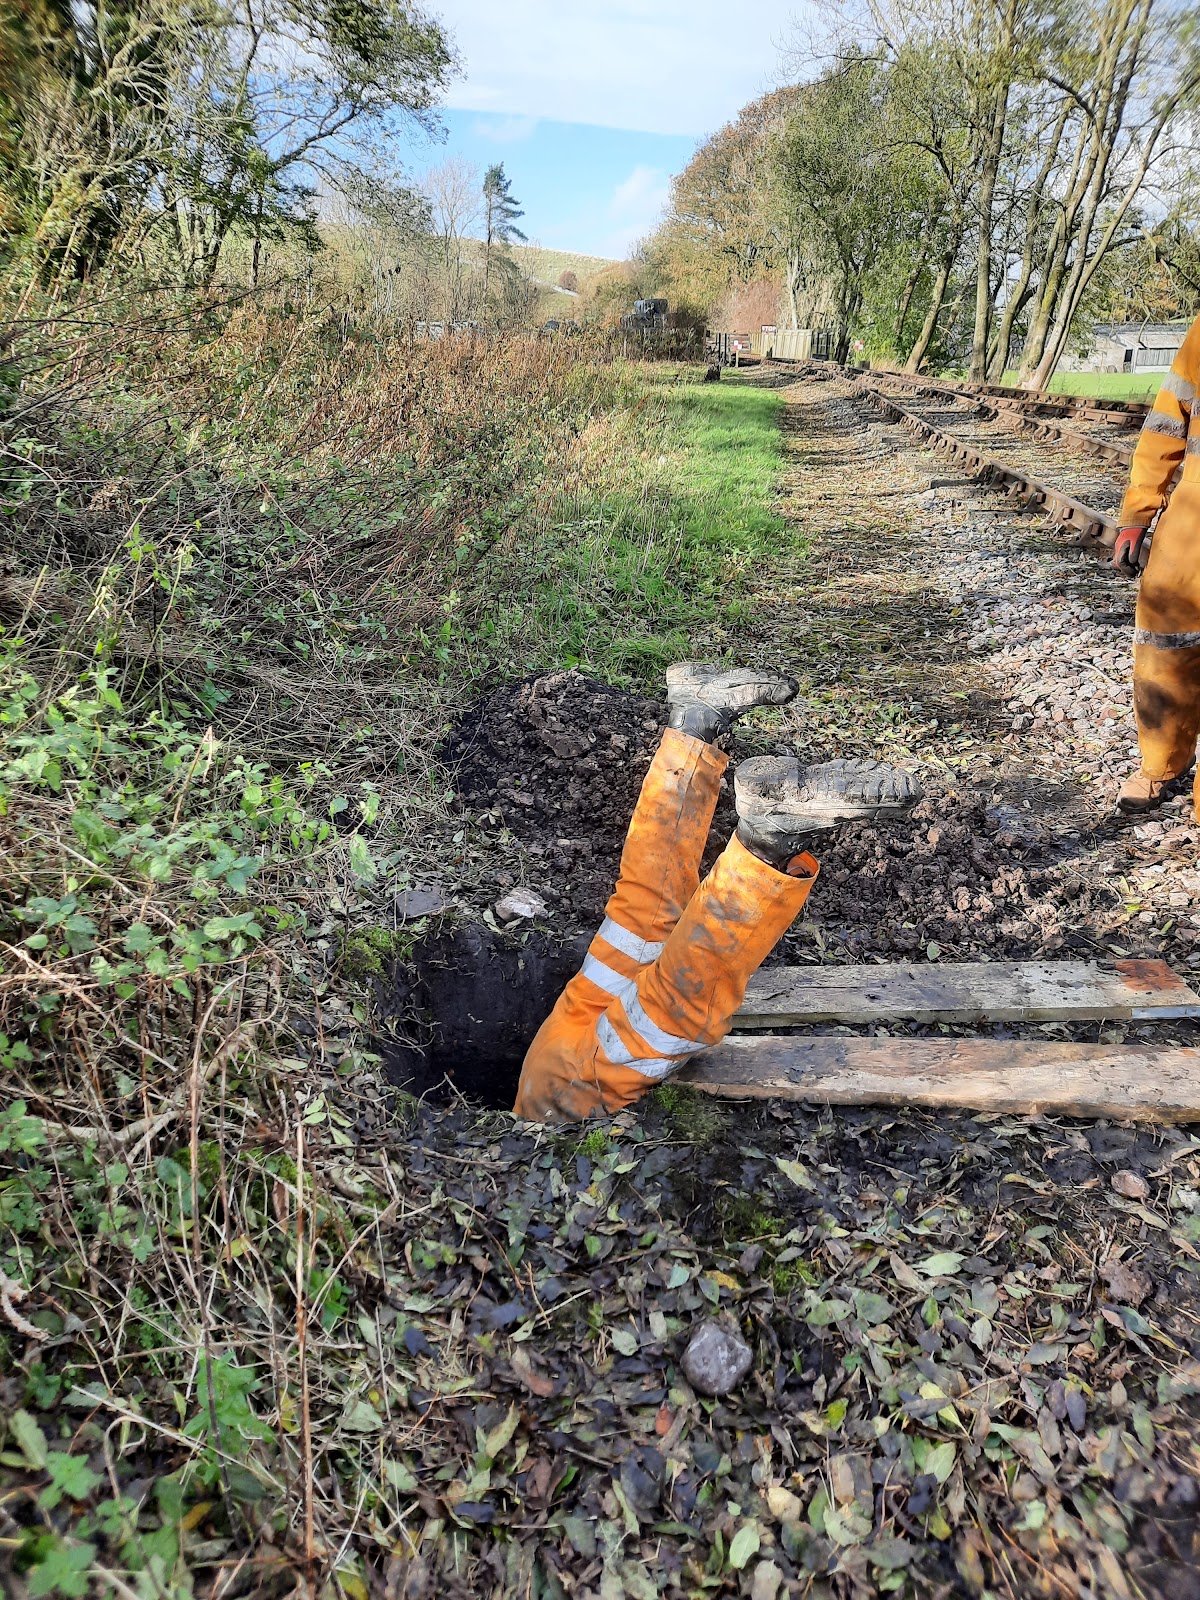 |
| Swallowed by the ground, or the mole returning home? (Don't worry - this was posed!) |
Well, you can’t plant a post without preparing the ground for it first. So the Moles of Kirkby Stephen were at it again! The locations for the posts and the depths of the holes depended upon a fair few factors, such as visibility of the signals, distances from the track and pointwork they are protecting, the ground they are going in to, clearances of the arms / post from the rails / loading gauge as well as to place the signals to avoid any confusion as to which line they apply. With the layout at Kirkby Stephen East being what it is, this was especially difficult; however, we think we have now satisfied all the above! (Note: I blooming well hope so, since they’re all now in the ground!!!).
We set to, digging with hand tools (pick, bar, shovels of varying sizes, set of spoons) to try and get as tight a post hole to the size of the signal post to be planted. Some were easier than others to dig, but finding clay, with big lumps of rock packed in, generally led to cursing! The depths of the holes for the wooden posts depended upon their height, but proved fairly straightforward to dig, albeit leaving us somewhat sore afterwards!
 |
| The size of this excavation can be appreciated. It was all very tough going to be dug by hand... |
 |
| Aggregate on trolleys, mixer on a little plinth (it had been brought up on a trolley, which was then needed for other things!): a load is barrowed into the hole. |
 |
| Team photograph / survivors picture! |
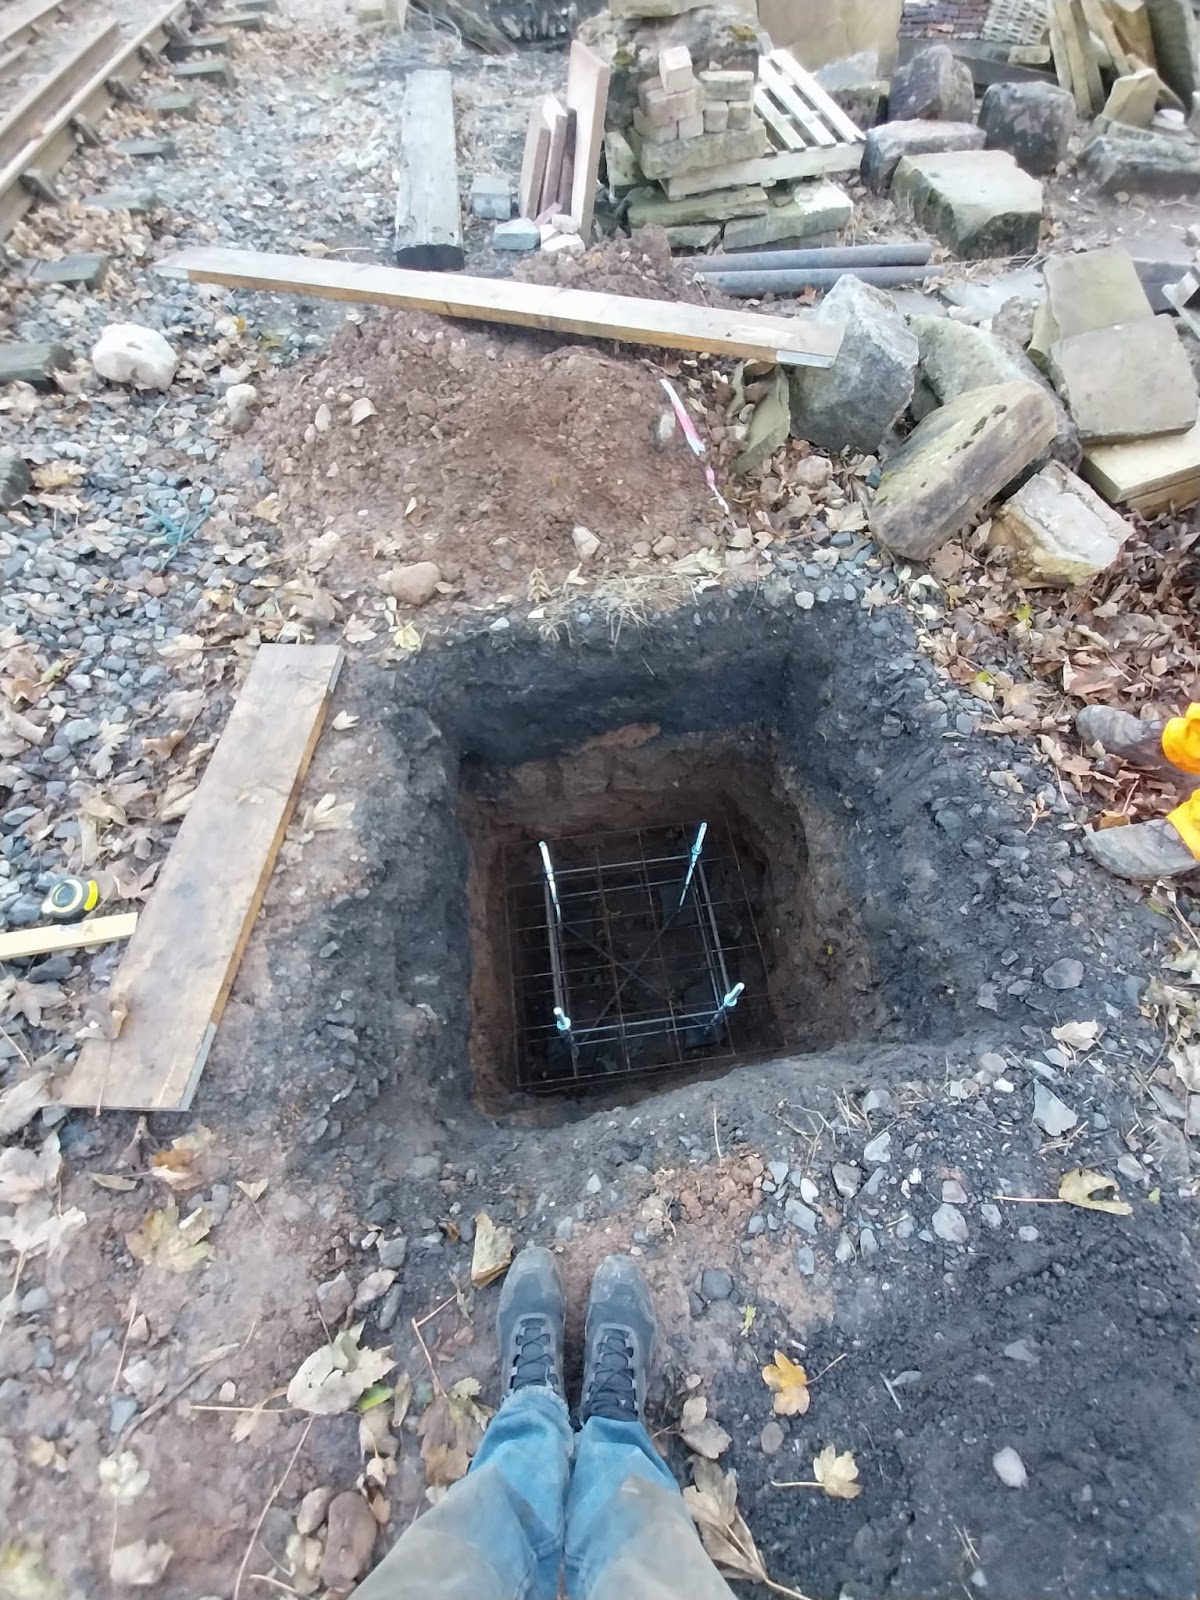
When it came to the lattice bracket signal, formerly at Hell Beck, and previously the subject of its own article; we opted for a larger-sized hole (complete with a considerable mole hill!) in order to allow a big (and heavy) concrete foundation to which the post could be bolted, and then the remainder filled in to secure the post effectively. We certainly know how to make things difficult for ourselves, don’t we? There is no vehicular access to the bracket signal’s location, so not only did we have to contend with digging, but also mixing of concrete to put in the hole.
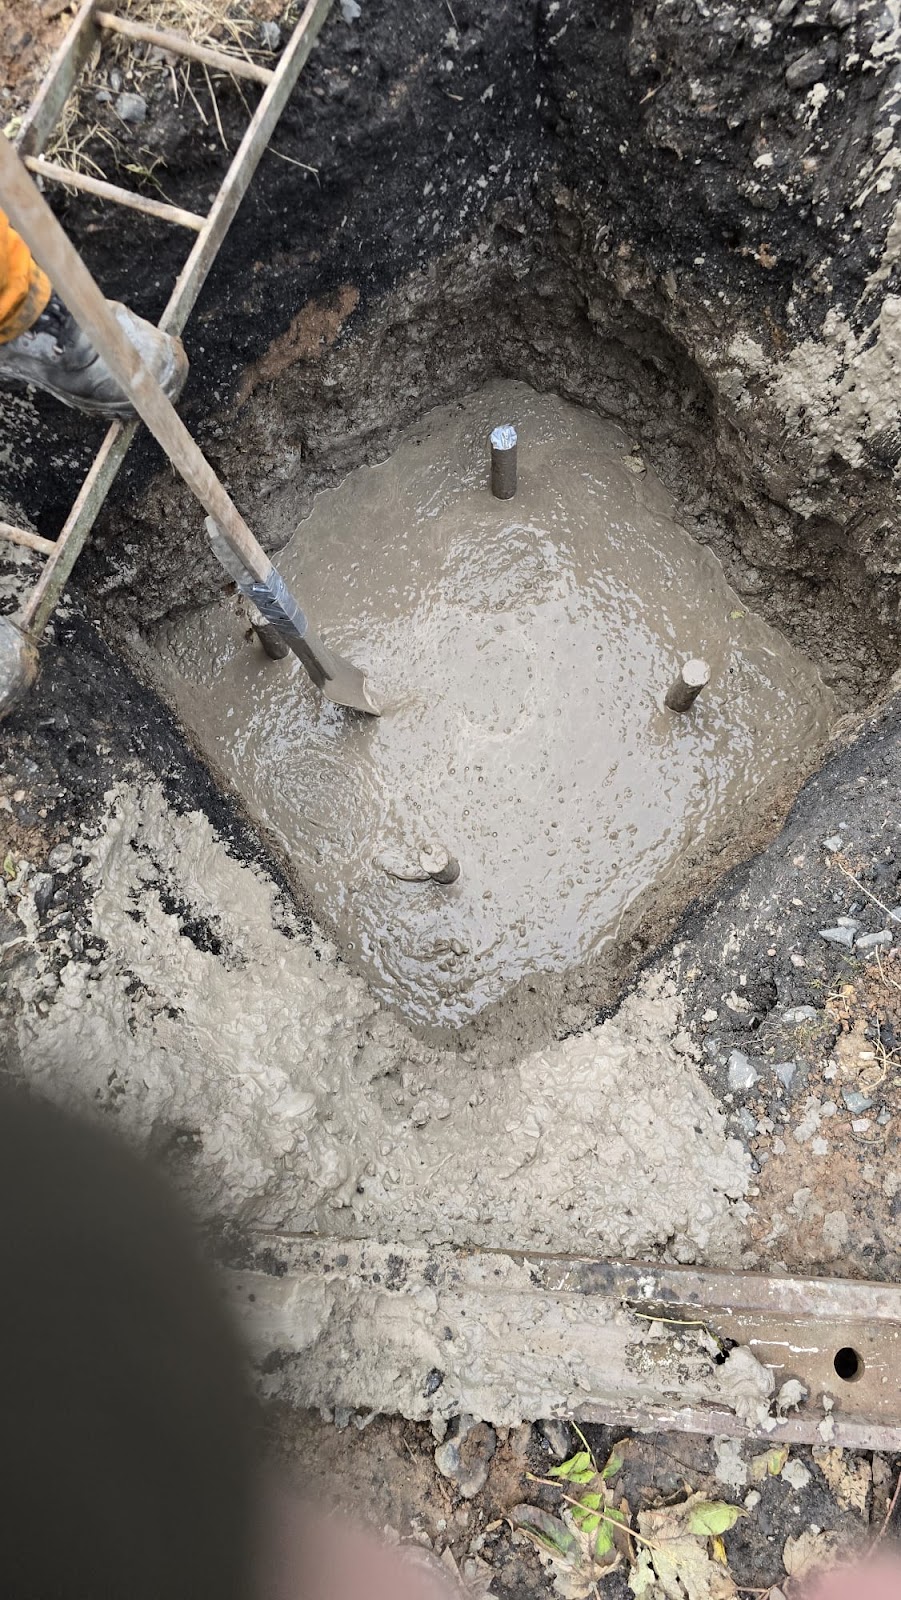 |
| Prodding the concrete to ensure it was where it ought! Note the protections over the threads. |
 |
| Once the concrete had cured, a little additional excavation was carried out to ensure a spanner could be wielded to adjust the nuts, so as to level up the base. The threads were also cleaned up at the same time. |
The concrete mixing saw 30 (it may have been 32: I lost count!!) mixes completed, in fairly quick time, with a good team of people on hand to move aggregate, wheel the barrow, ‘drive’ the mixer, hold the corrugated plastic chute etc. We had protected the tops of the threaded bar with tubes, but prior to planting the signal, we still had to clean up the threads to allow the securing nuts to be run on: we’ve allowed for a nut above and below the base so that minute adjustments can be made to get it sitting perfectly, prior to full filling in.
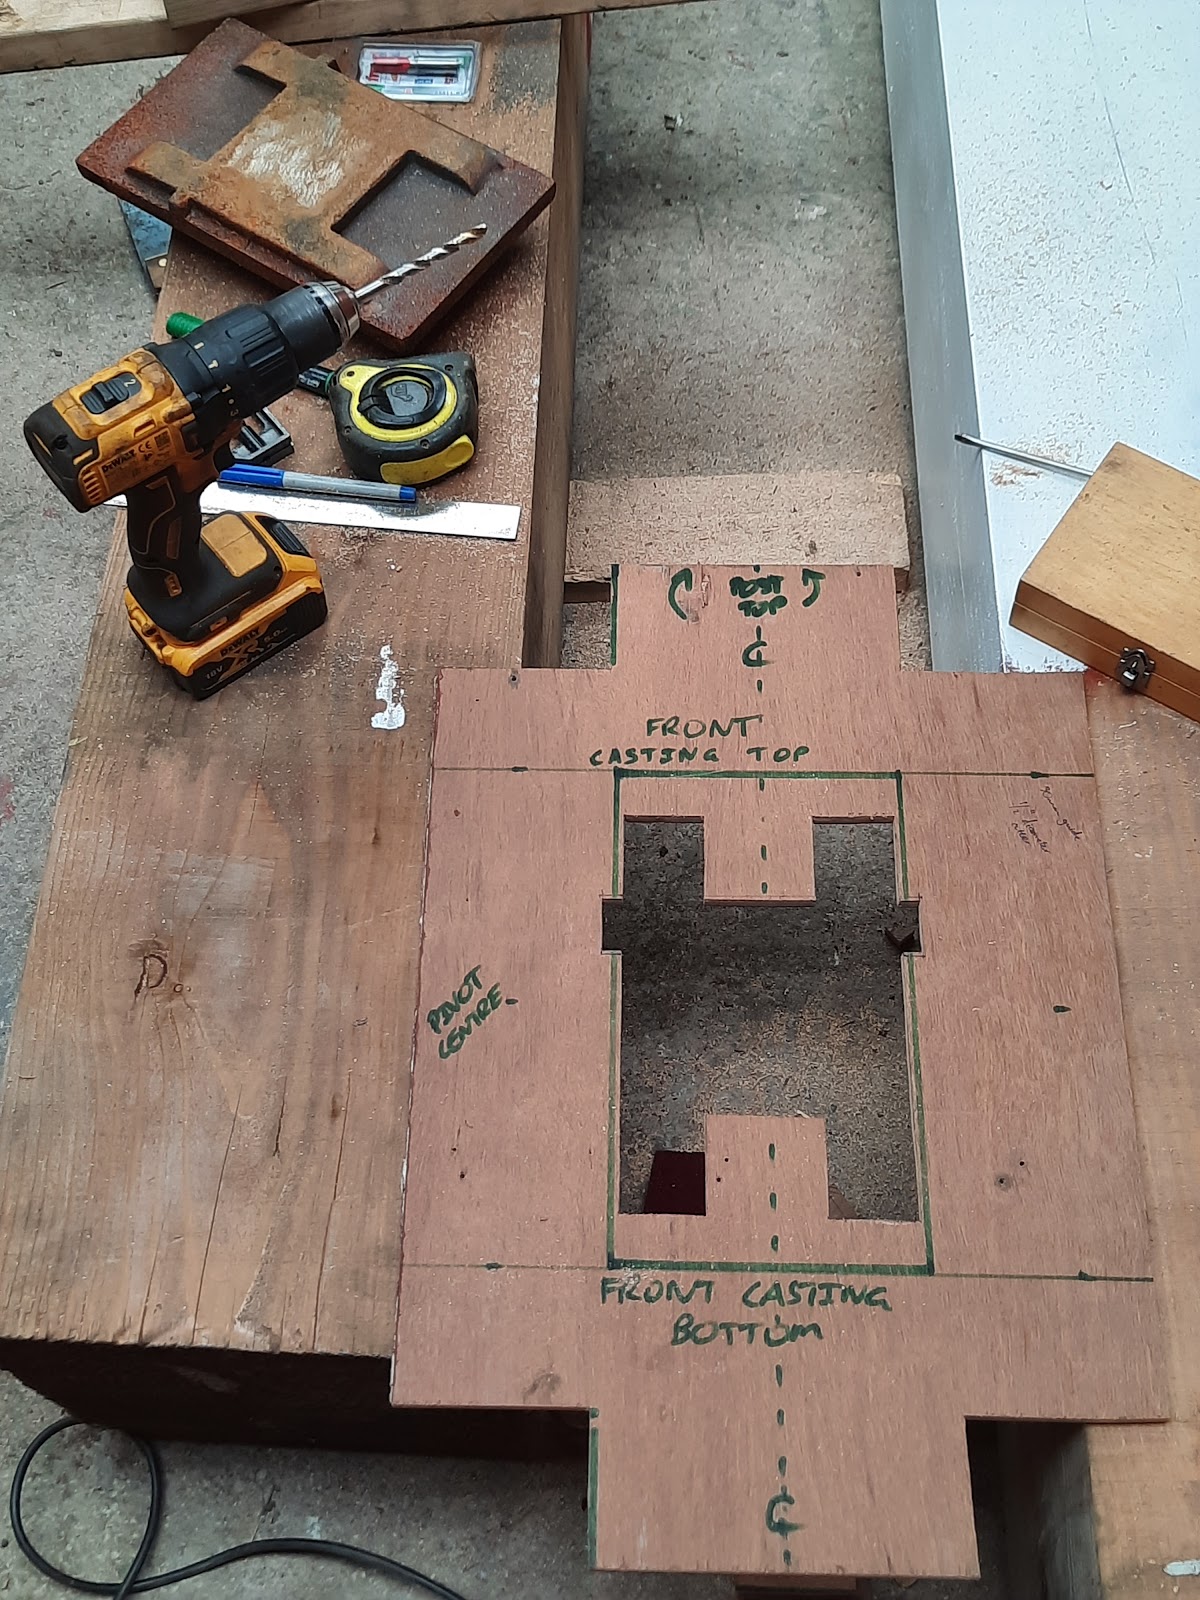
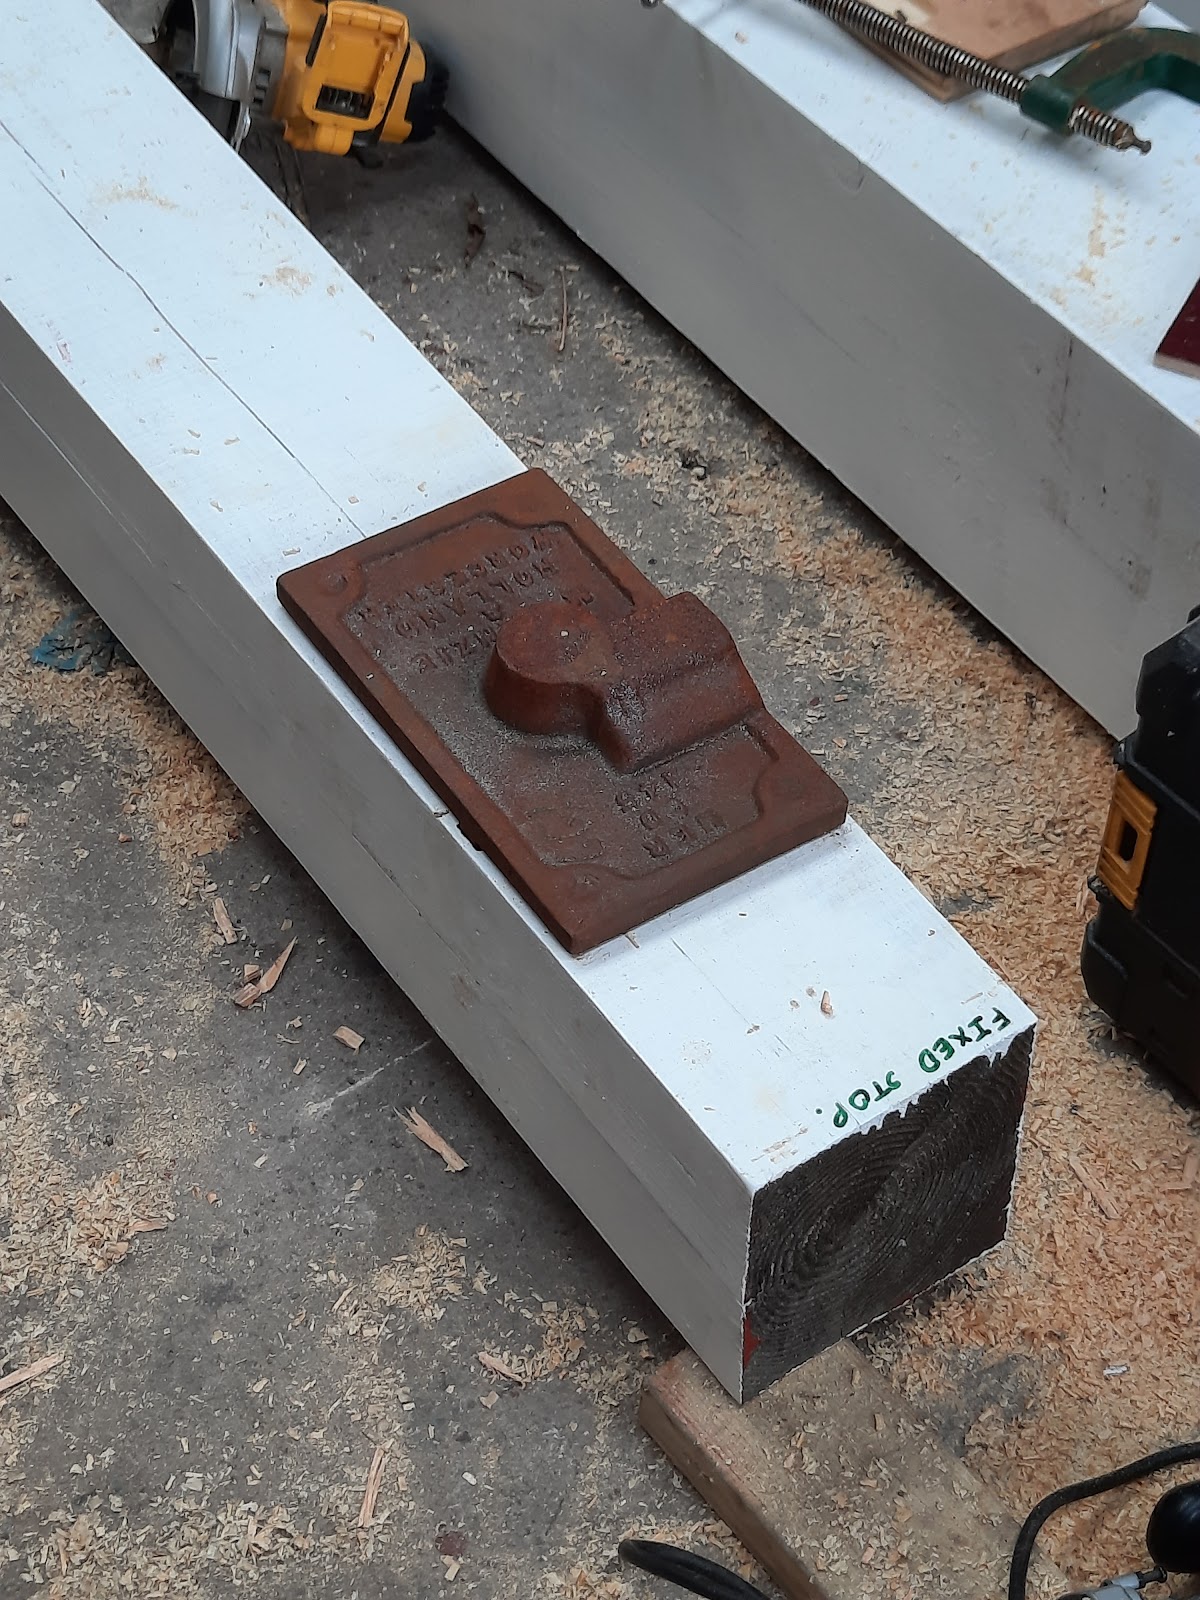
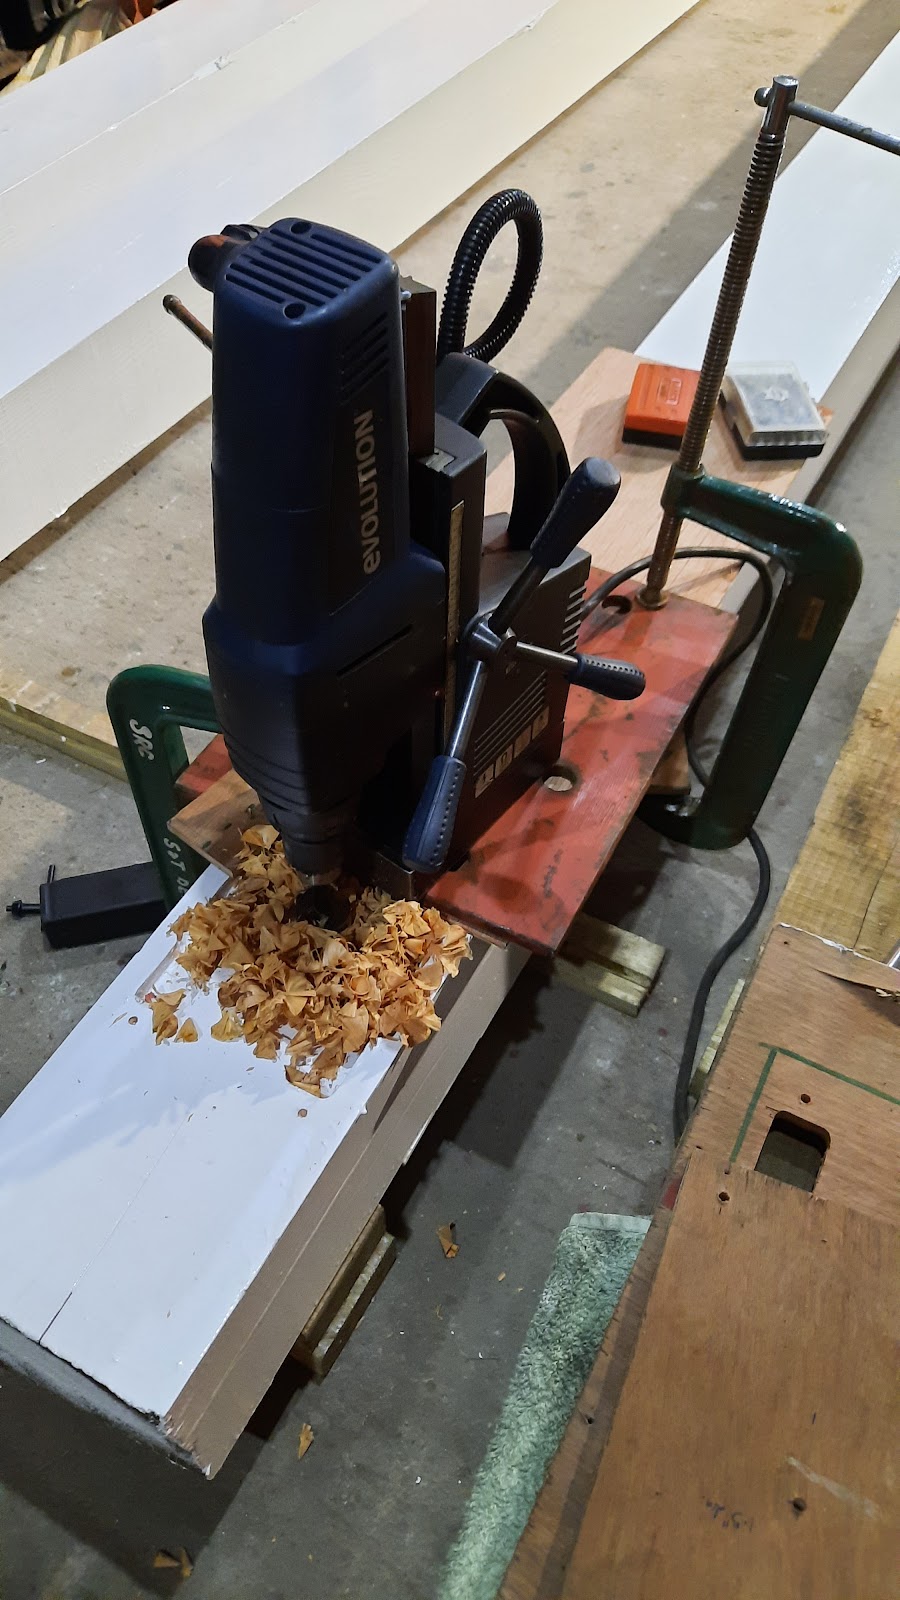
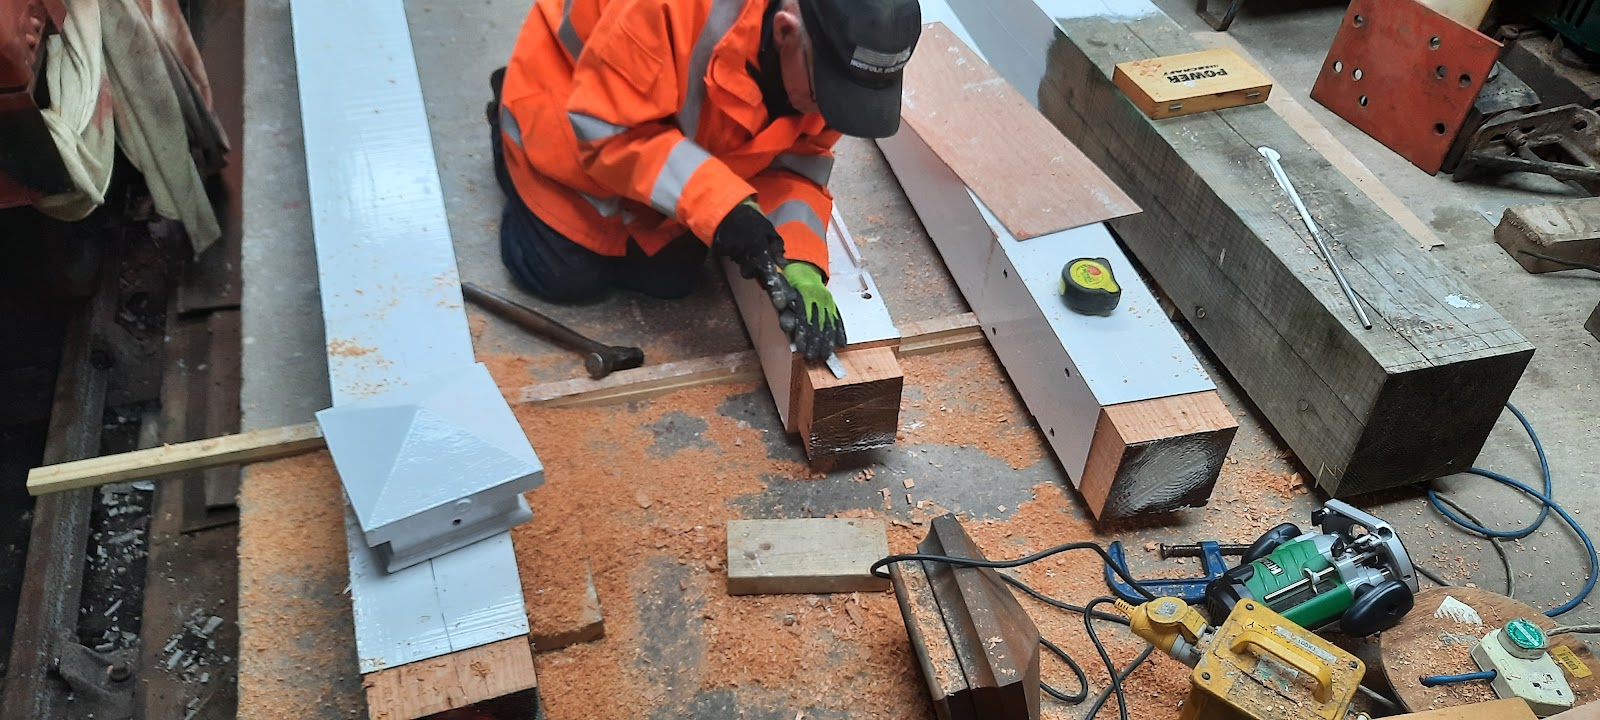
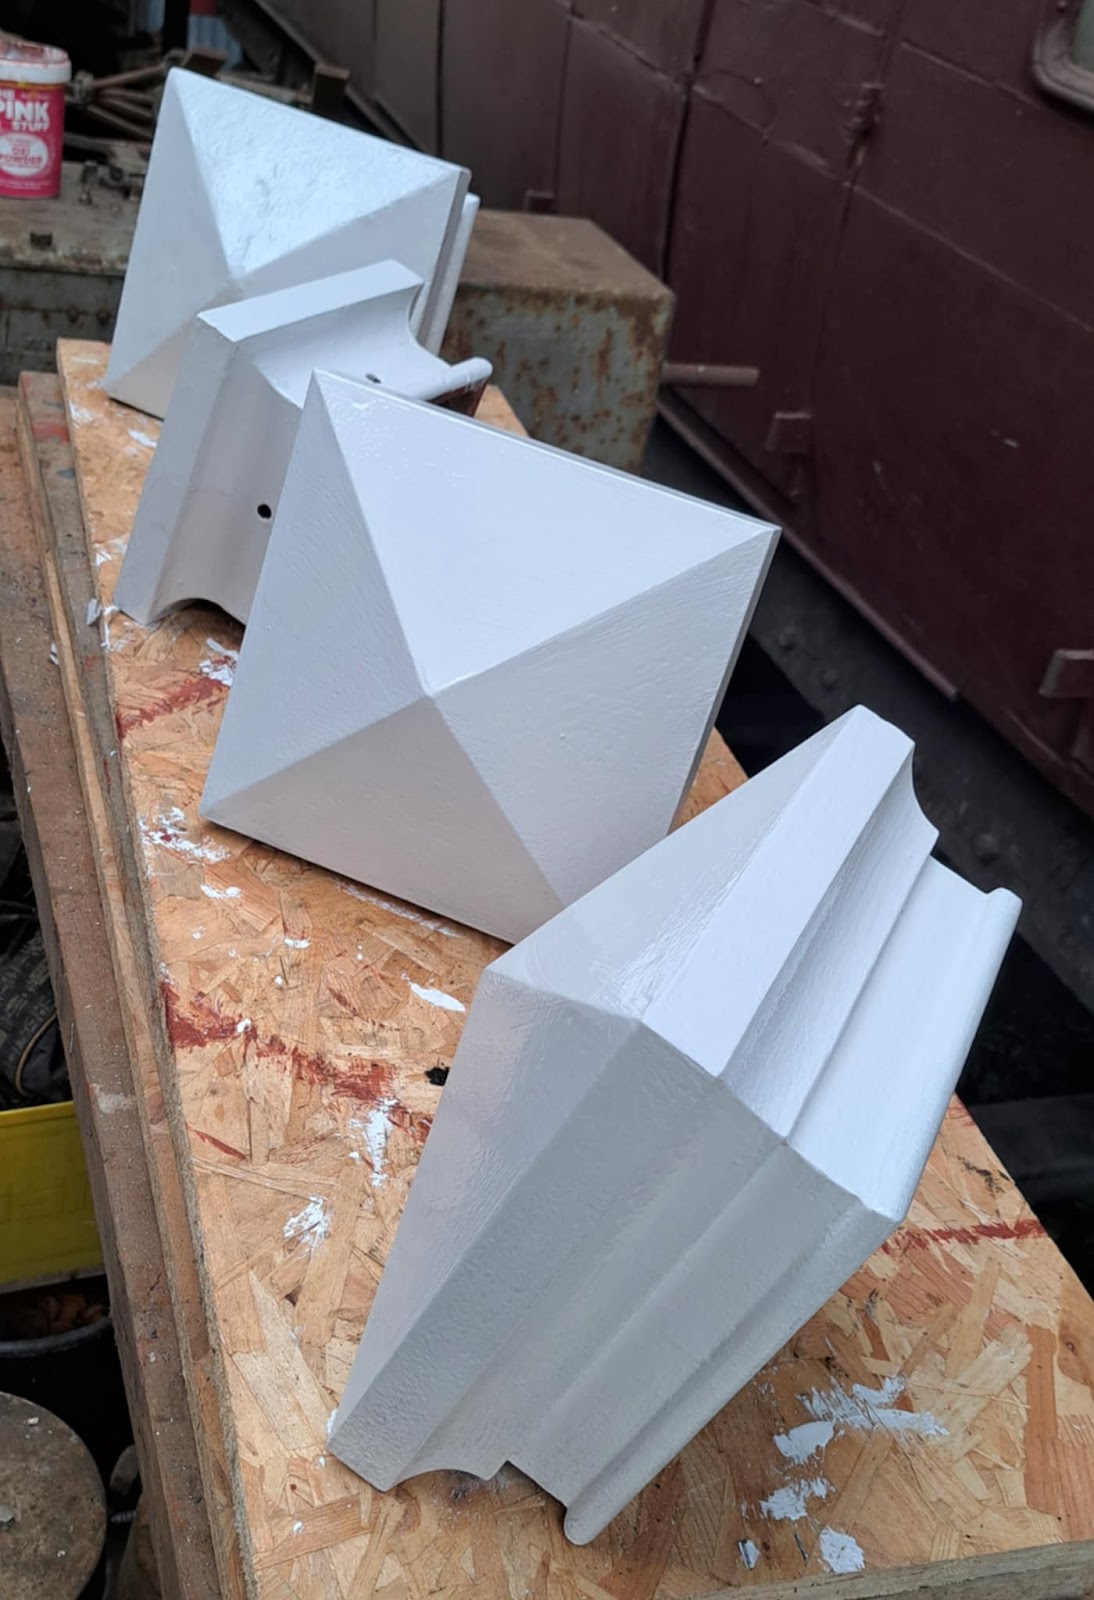
The preparation on the ground for the wooden posts was straightforward, but the posts themselves required making ready for the various castings that are to be fitted. Bearing in mind the posts are tapered, and the castings have projections on the rear to sit into the post for strength and location, this was rather involved. I have so far made 4 different templates to aide the machining, with a 5th under production for use fitting the rear castings!
The first couple of templates allowed for the routing of the posts whilst still on the ground, in between being painted (thinned primer, undercoats, gloss). The lower sections of the posts were also treated to try and protect them as much as possible from the ravages of the environment… this involved charring the surfaces, coating with bitumen and then heating this to encourage it to go into the wood better. Additional coats were also put on!
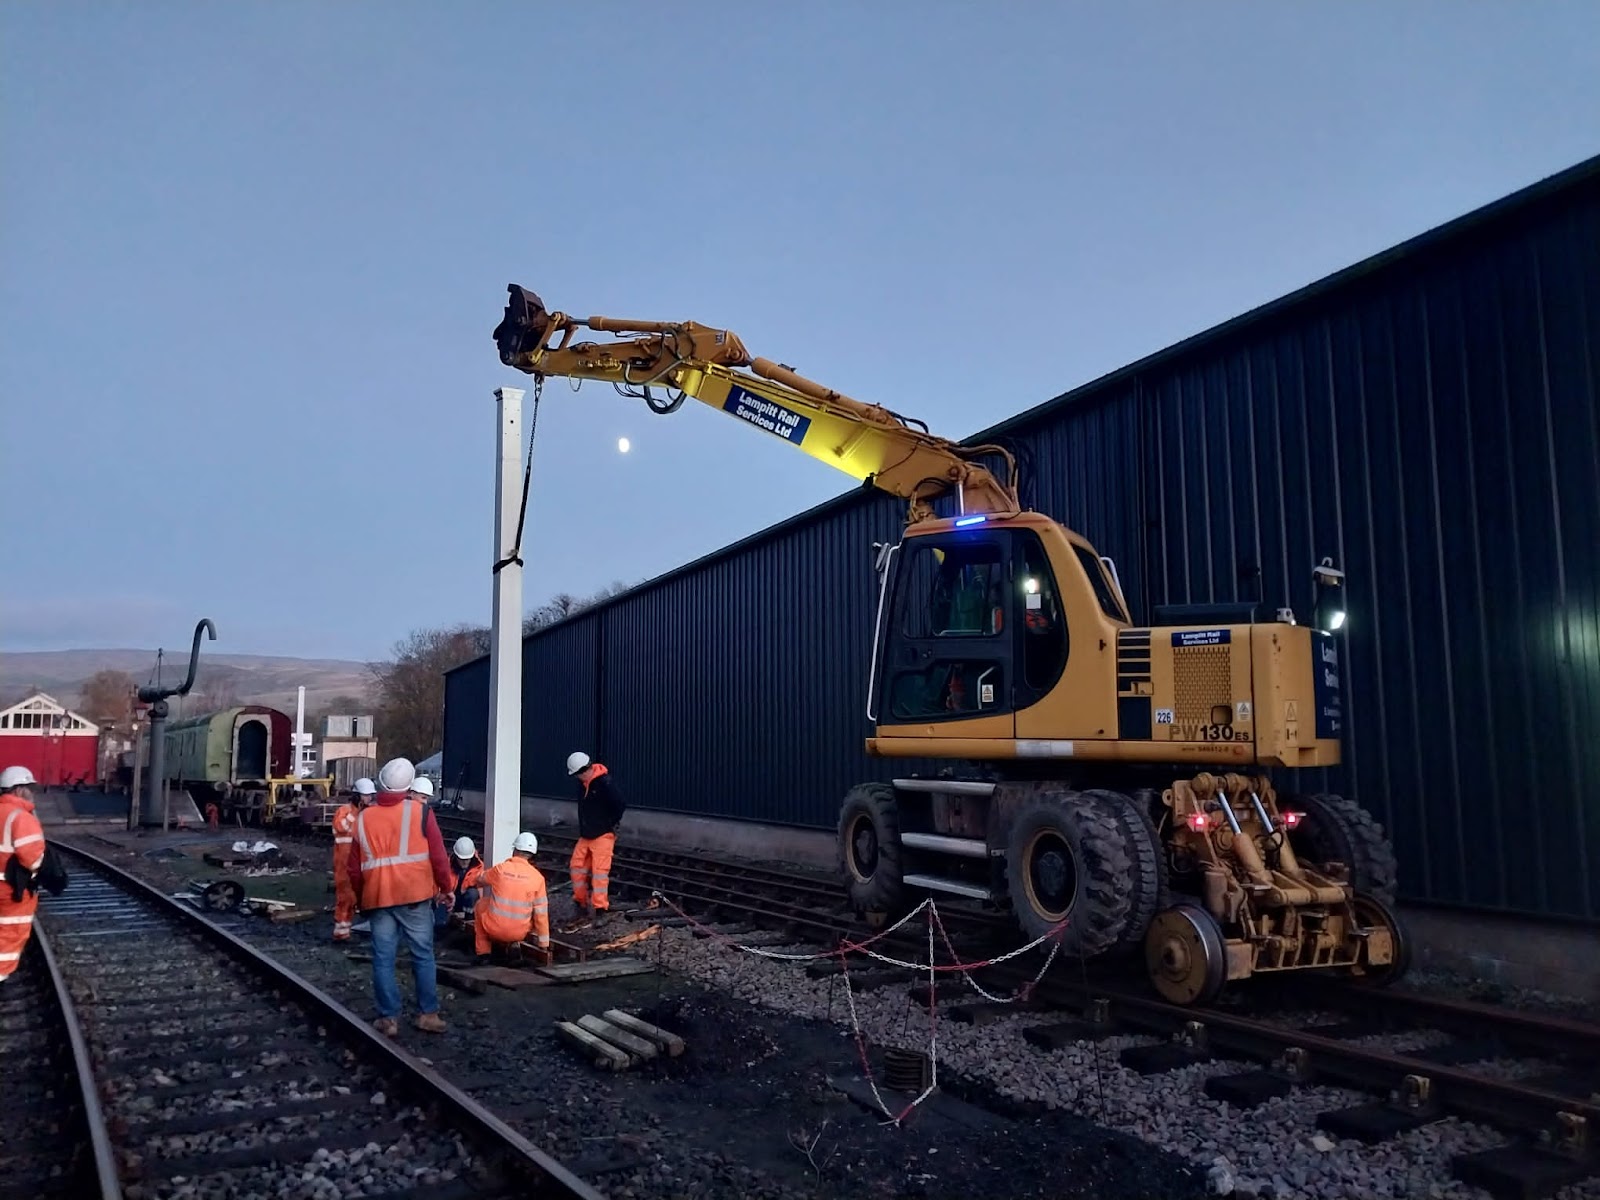
The start of this week saw the arrival of the Road Railer from Lampitt Rail Services, along with a good number of volunteers to help as required with all the projects going on. With the heights of the posts varying, there wasn’t just one way of slinging them and lifting them into position: there was a bit of trial and improvement required.
The fixed (for now) stop signal, close to the railmotor garages, went in fairly easily: we dropped it in place and left it to sit at a jaunty angle, to await packing later as it couldn’t go anywhere. No.4 signal, beside the signal box itself, however, proved more awkward owing to its height. A bit of to-ing and fro-ing, with a re-sling saw it too go in. We packed this one with timbers to get it roughly vertical so we could detach the sling and move on to the next post. The idea was to drop all the posts into their hols quickly, and release the road railer to concentrate on the track works, and allow our team to true up the posts at our leisure*. The remaining two posts were also fairly tall, so were laid down and slid into the holes by lifting from the top. Again, wooden packing was used to steady the posts initially.
* Possibly not the best word to describe the physical brutality required to pack the posts into the ground solidly!!
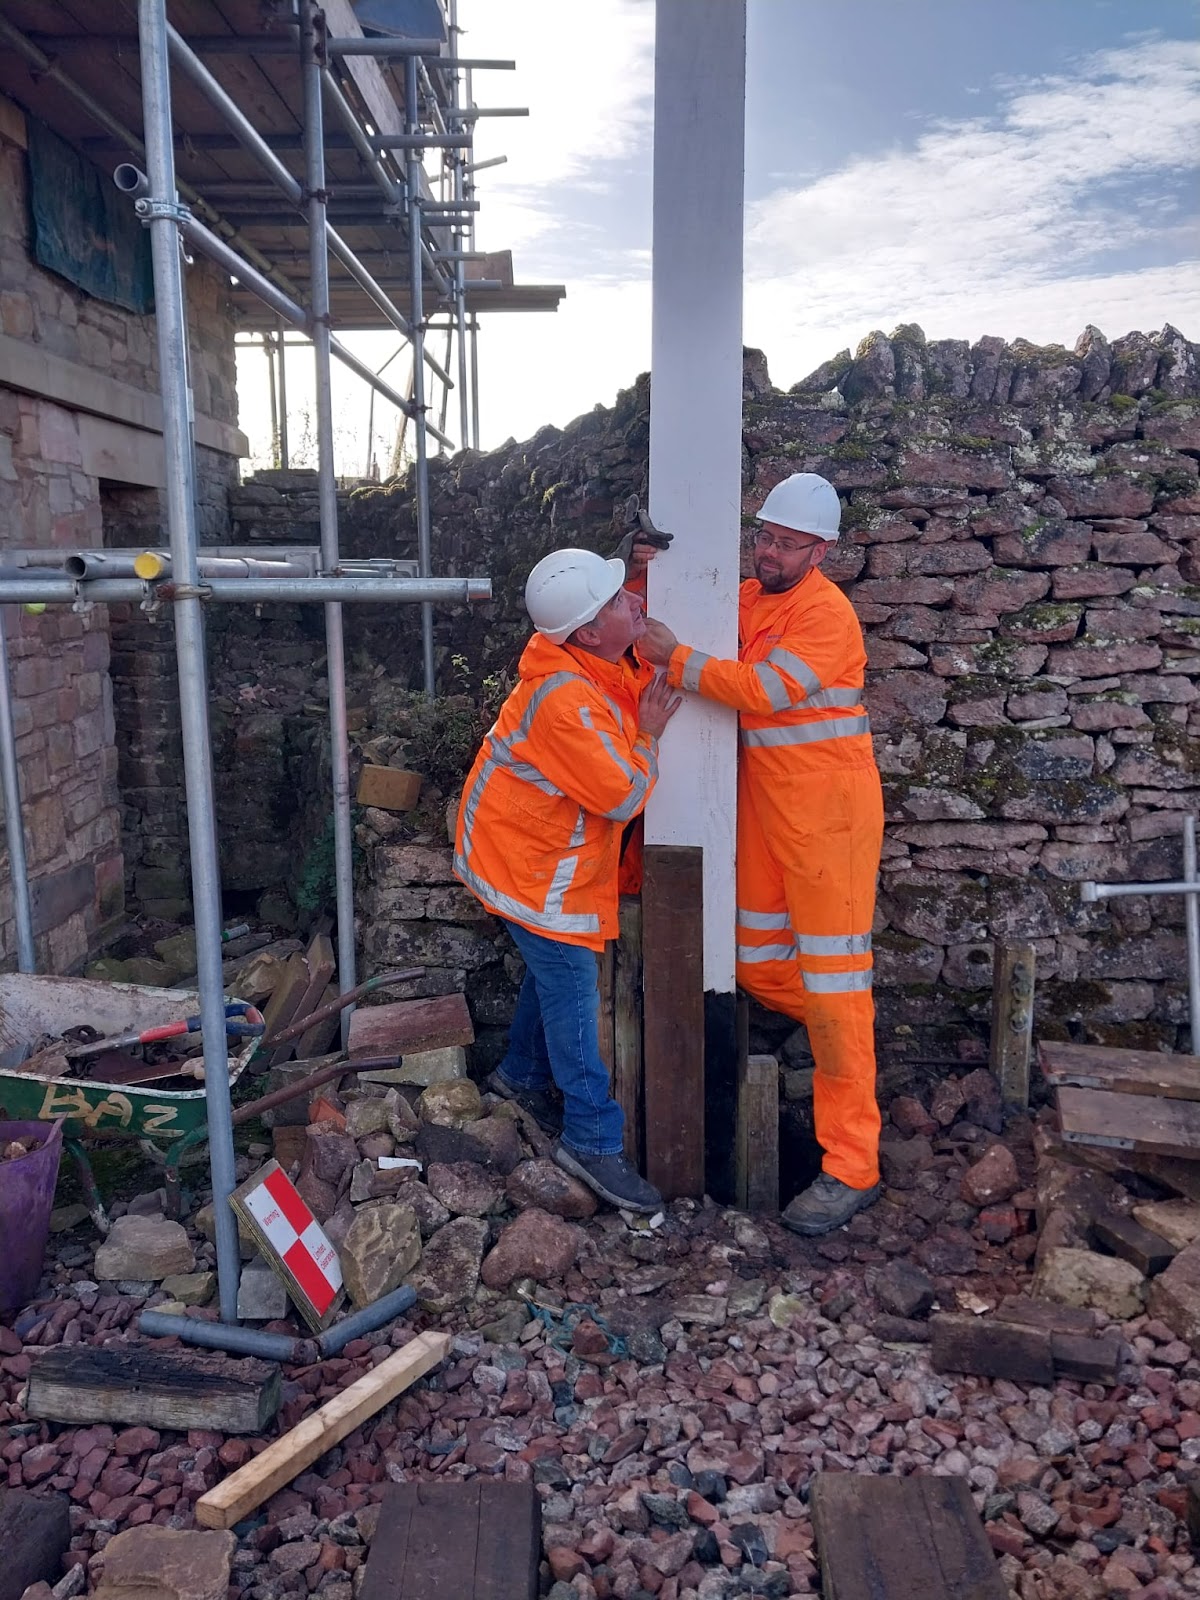
Day 2 saw the posts set in the ground, with the holes filled in and tightly packed with the appropriate material we had previously dug out. Inverse mole-ing! But how do you ensure a tapered wooden post is vertical? Simple, really: ensure opposite faces are equally NOT vertical, using a spirit level (also known as Michael…). The technique was to deal with alignment in one plane at a time, keeping the wooden packings in place for the other. The post couldn’t go far on its own, so we were able to push, twist and pull until it sat the way we wanted. It was then time to pack a little further, compacting layer by layer, and repeatedly checking progress.
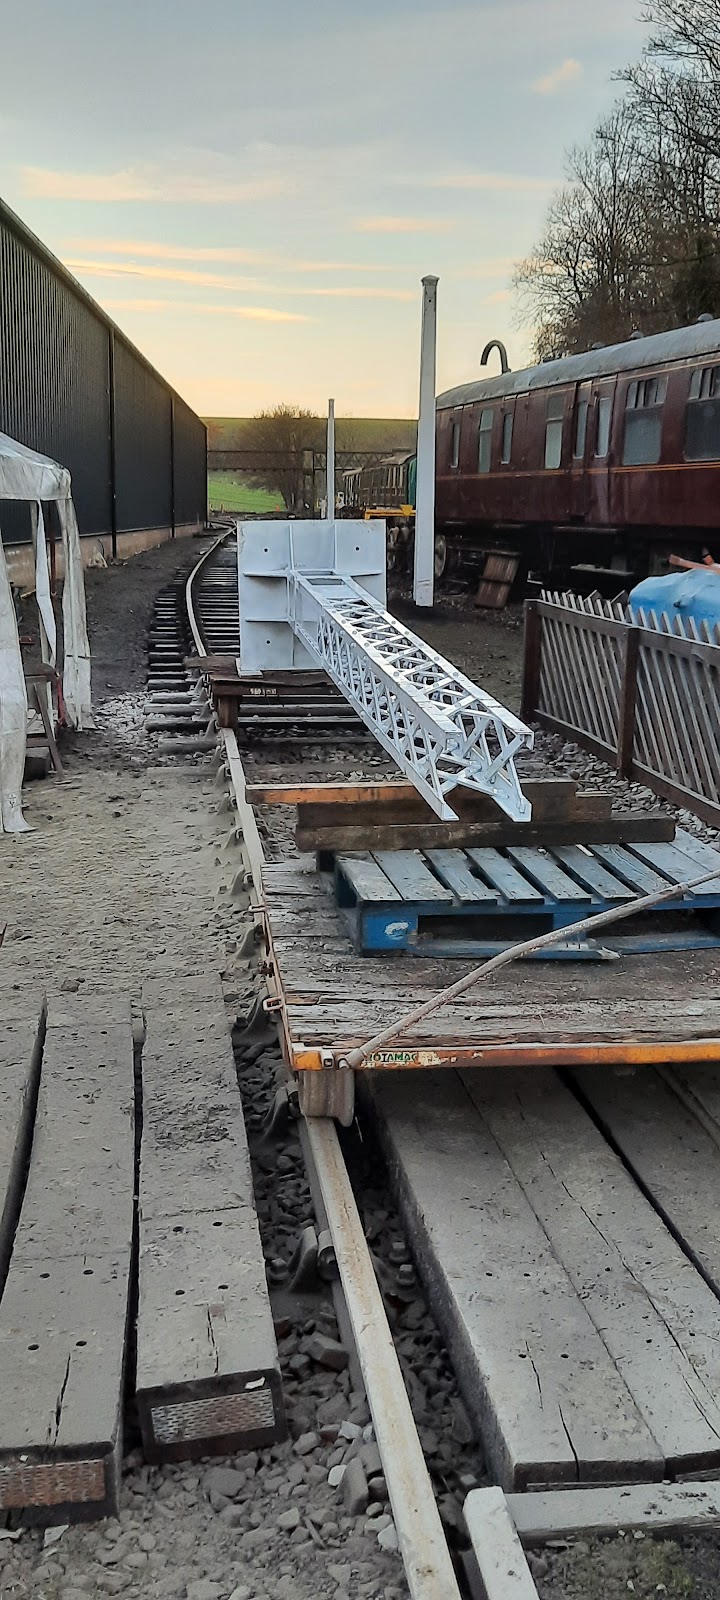
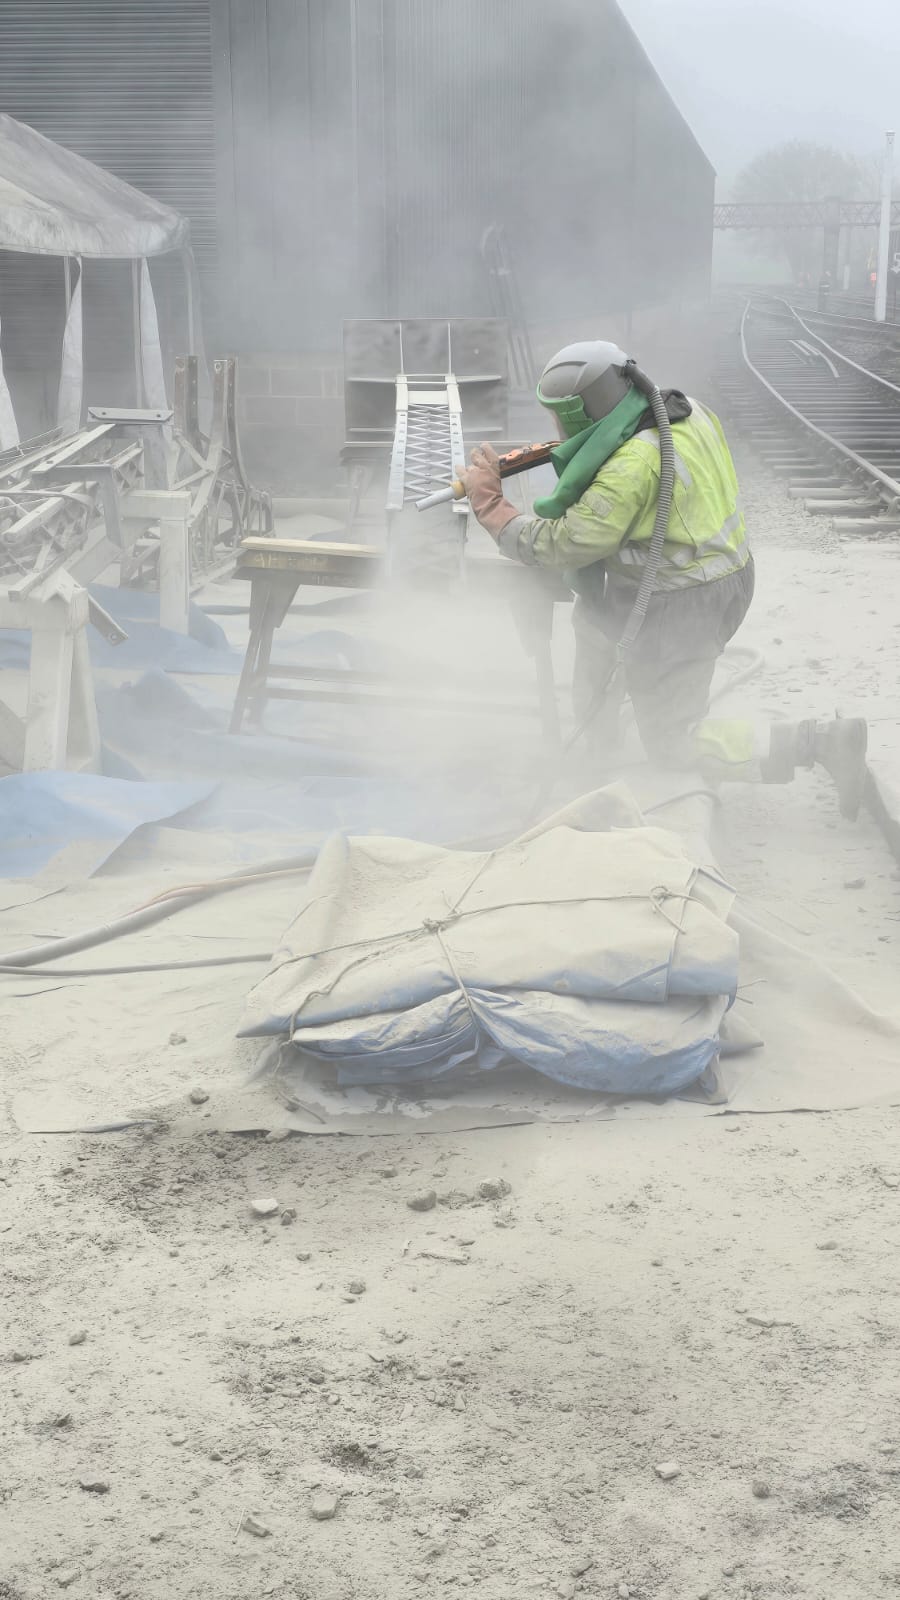
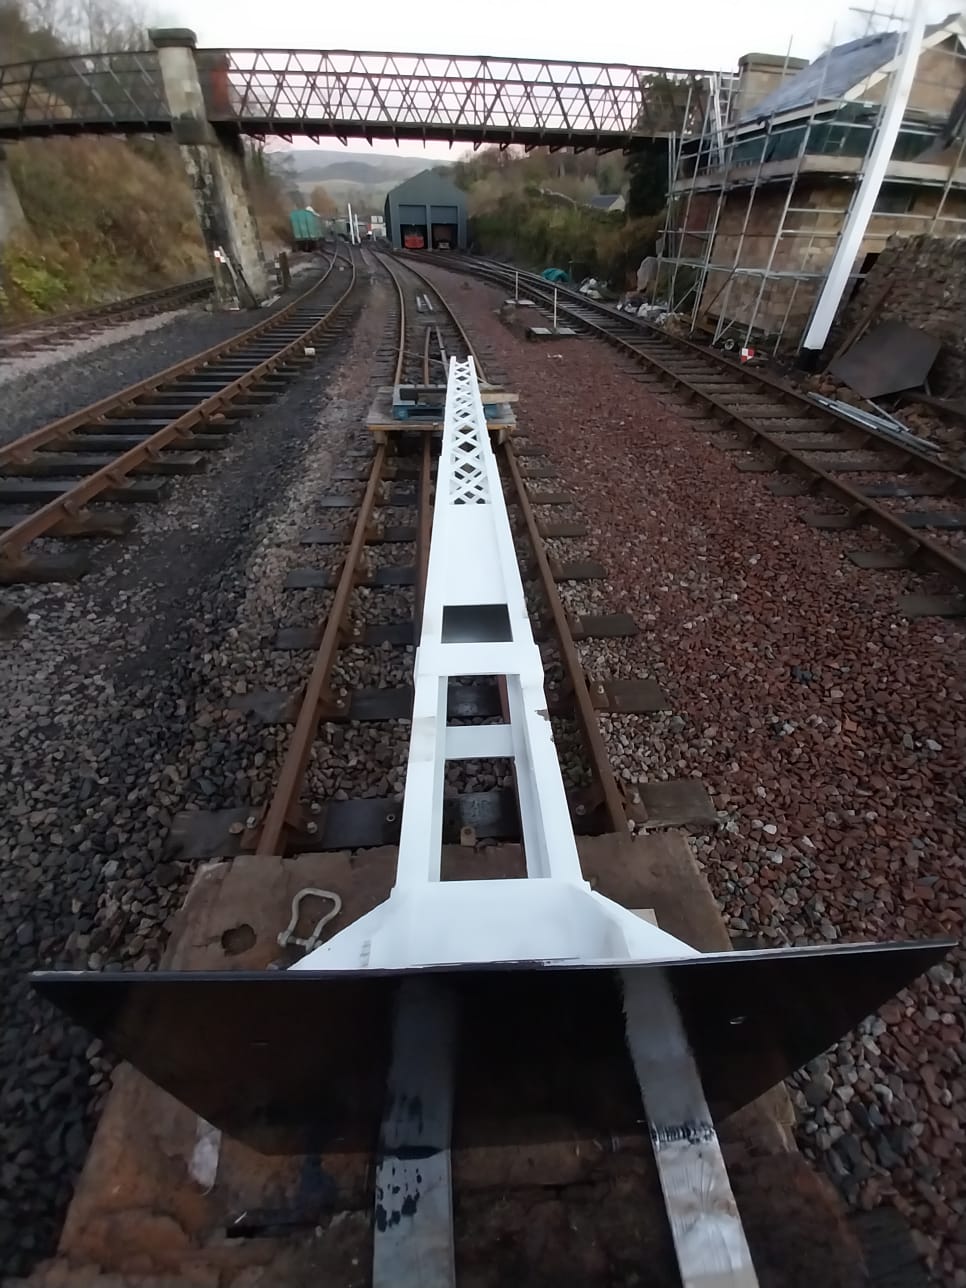
So, four wooden posts in place by the end of Day 1, and just the bracket signal to go. Simple, right? Well, as it happens, no! The lattice components required blasting and painting, which had been lined up to take place a couple of weeks beforehand. Sadly, the contractor had to pull out, and we were left making lots of phone calls to find an alternative. Up stepped Joe, and despite being ill and between jobs around the country, managed to get the main post blasted and painted up, just in time for planting on Day 4.
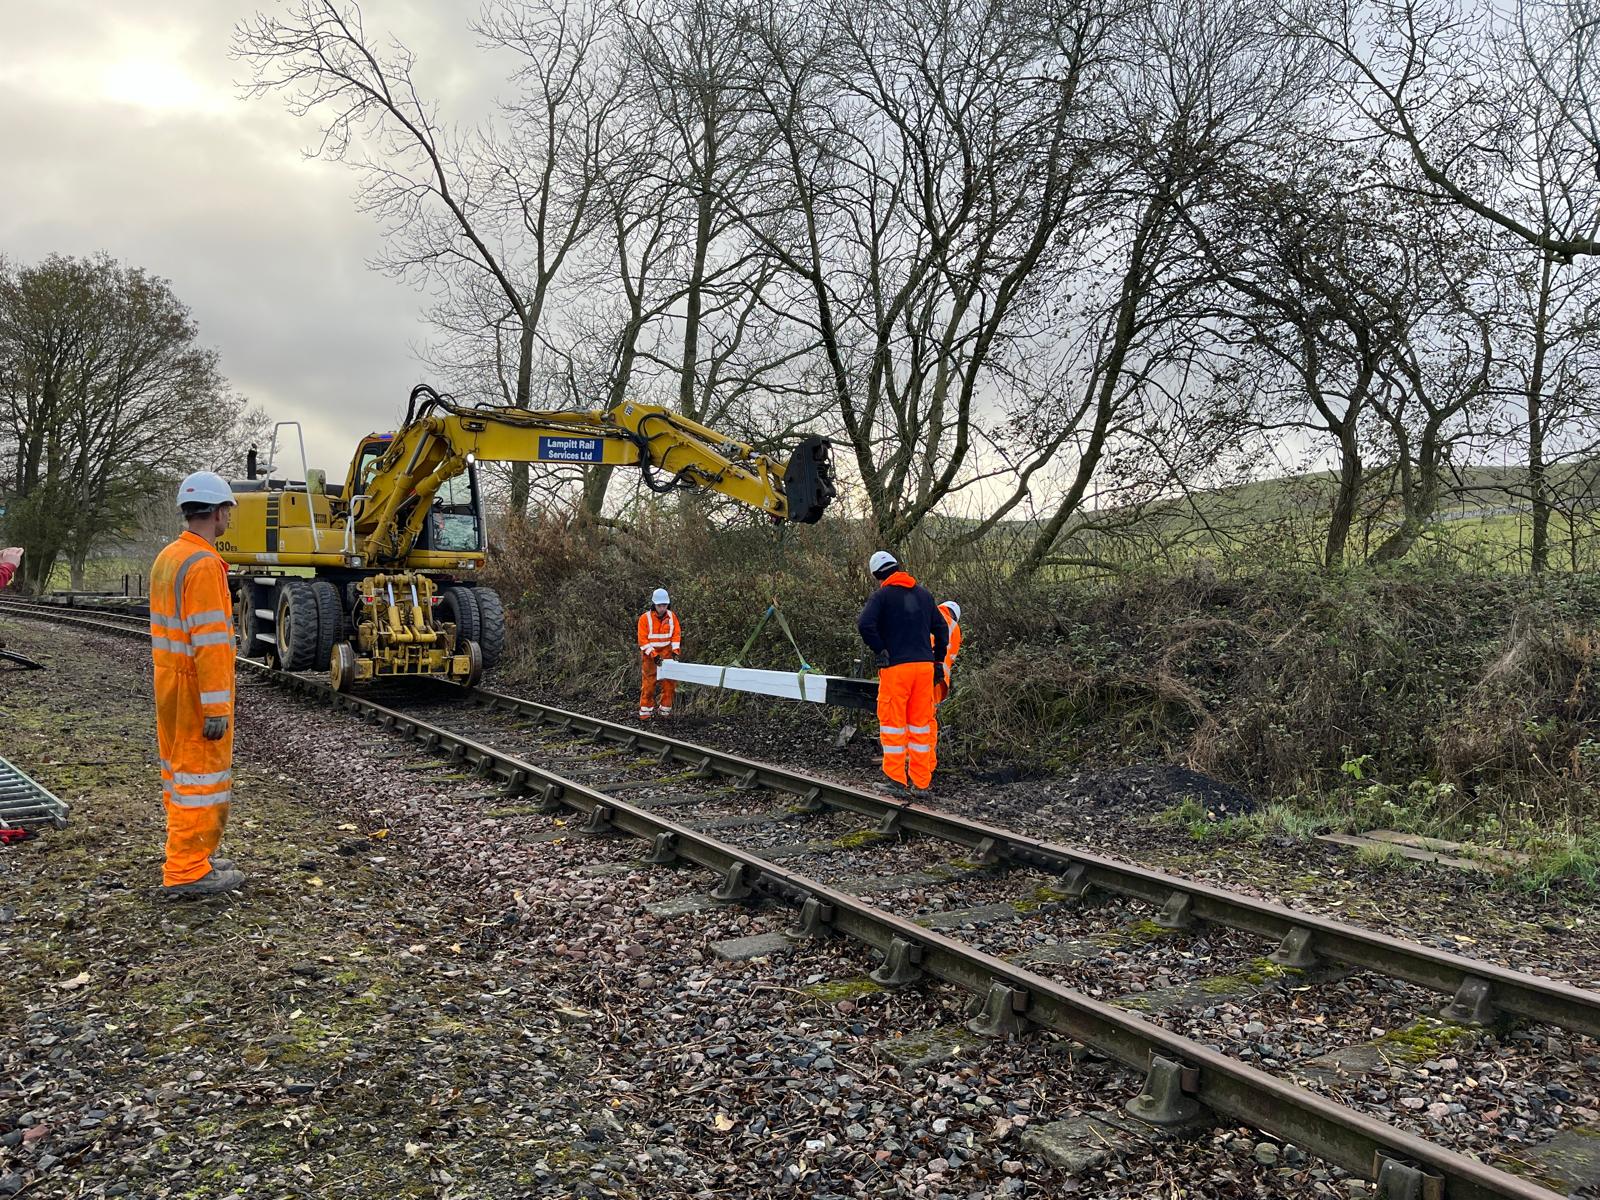
As this took place towards the very end of the works, the track had been pulled up, meaning access was trickier than anticipated. This meant we had to move the post by hand onto two trolleys and push it up to one side of the break in the track, so that the road railer could reach it. Darkness was falling rapidly, but the road railer put itself back on the track, picked up the post and delivered it to site successfully. As the post was gently slid into the hole, fingers and toes were crossed that the holes we’d drilled in the base would line up with the studs set in the concrete. With a little persuasion from a crowbar (possibly known as Russell…), the base rotated, holes lined up, and it just slid onto the studs.
There was a lot of clearing up completed in between everything else, and there is a lot more work in the future. But this week was a fantastic step forwards, with lots of teamwork and cooperation all round.
Well done everyone, and thank you!
















Comments
Post a Comment