Frame installation: Day 1
A slightly different set of blogs this time, so as to show 3 days' work to install the ex-Pesspool Junction frame. As detailed in previous posts, this is a North Eastern Railway, Central Division / I'Ansons frame which seems to (now) be unique, aside from several quadrants thought to still reside in the remains of Broomielaw box.
Over the last year, we have been stripping down the various components for the frame, cleaning them thoroughly, and painting them as appropriate. Saturday morning saw all the separate pieces brought out from storage, and loaded onto the Pipe Wagon, for transport up to the box. Initially we placed the items in the best order for unloading, but when space became an issue, sadly we stacked the quadrants on top of some of the earlier pieces.
 |
| Preparing the immaculate pipe wagon for the castings: the protection works to prevent damage to both the castings and the wagon |
 |
| The pipe wagon, complete with its load |
With the wagon loaded up with frame components, the two girders that support the frame were loaded onto a P-Way trolley, and pushed up to the box. These were quickly unloaded and 'posted' through the rodding aperture, into the locking room. Once inside, these were lifted onto their pillars, and bolted together, measuring carefully to get the correct spacing. Sadly we didn't stop to take photos of this part of the job, but some filming was carried out, which we hope to share soon.
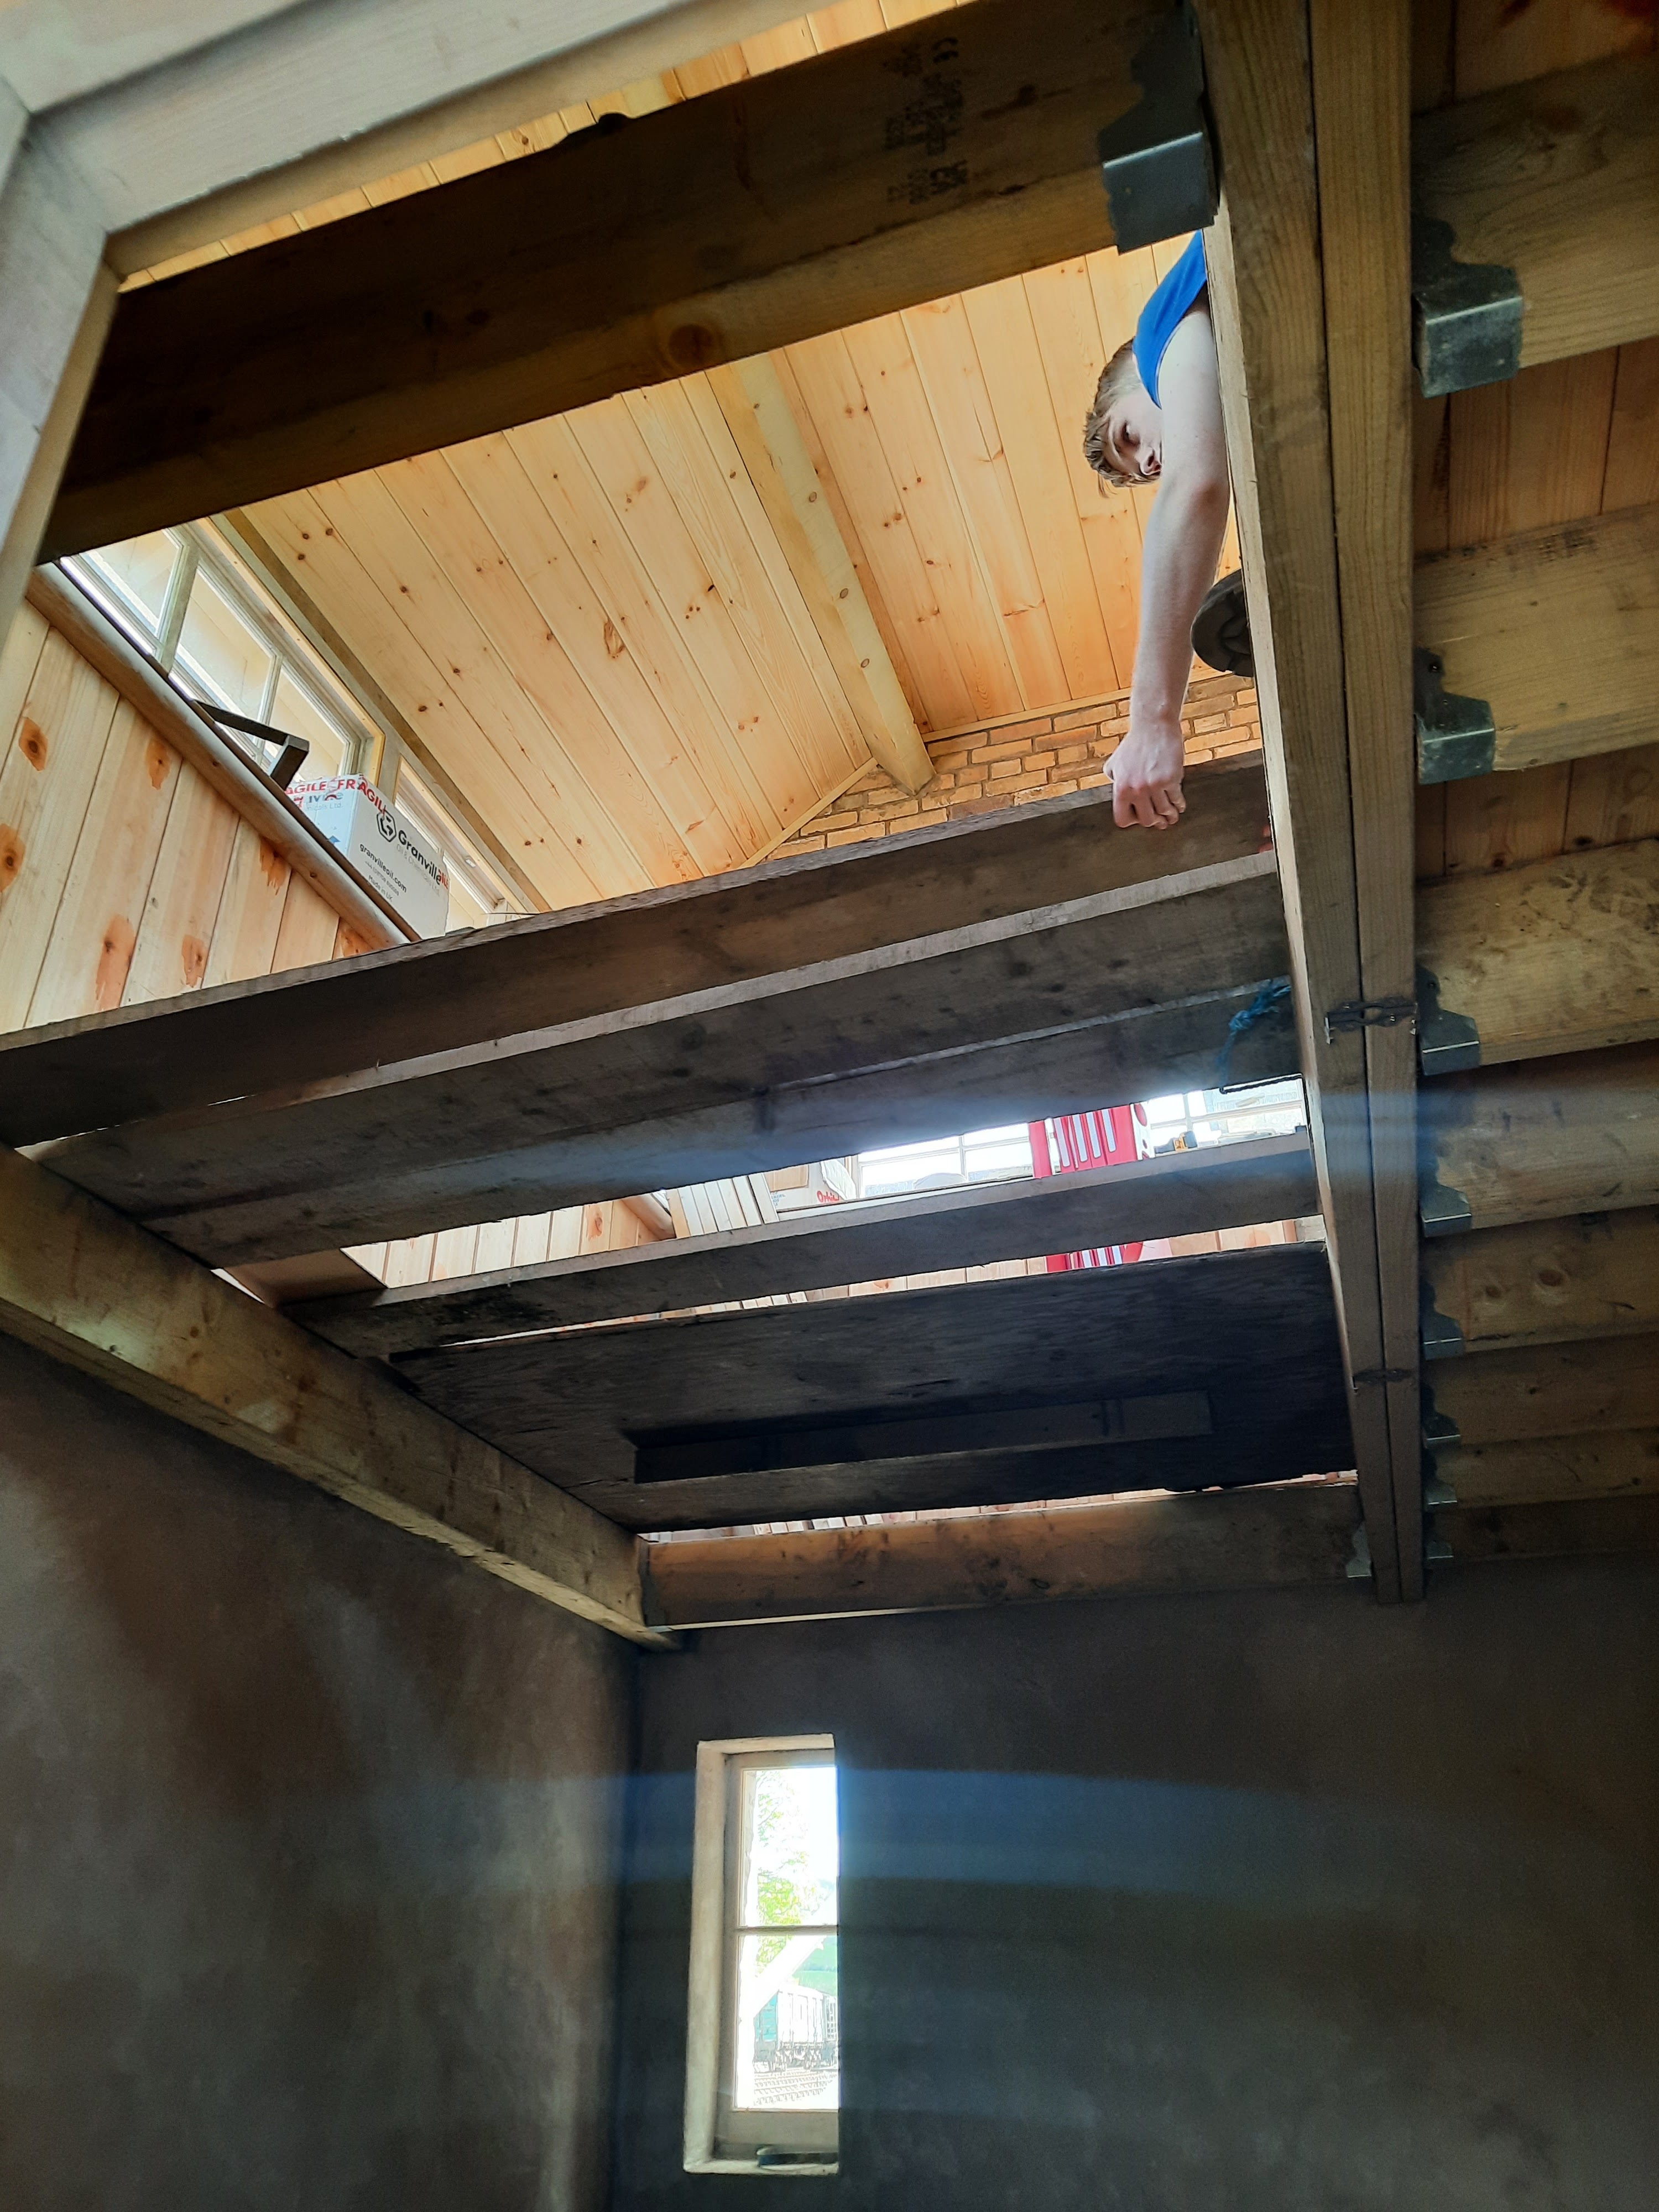 |
| Daylight appears! |
The hole in the floor that had been left for the frame required opening up, which also allowed more daylight downstairs so we could see what we were doing! The temporary boards were removed and put safe, with great care being taken, owing to a rather large hole being left!
The girders were levelled up using shims as appropriate, and set at the correct distance from the front wall of the box. Our datum was the inner edge of the floor joist, meaning the centre line of the frame had to be 26" further towards the centre of the box.
We will be strapping the girders to the pillars soon, but they were solid enough as they were for setting up.
 |
| hTe first stanchion sitting on top of the longitudinal girders, which in turn sit on the block pillars / plinths. |
The next stage saw the stanchions lifted up on to the girders and temporarily secured in a vertical position. Next 'up' were the base castings that fit between the stanchions, and which in turn support the lever pivots. These were then bolted to the stanchions, one at a time. This went very smoothly indeed, with the castings pulling together nicely. Once the bottom of the frame was sorted, the longitudinal tie bars for the top were lifted into place and bolts inserted. This instantly tightened up the structure and gave a greater stability.
 |
| Lots of bolts with cleaned up threads.. |
Bolting the frame together sounds simple, but the quadrants alone required 92 bolts, of 3 different sizes, with nuts to suit. The bolts were previously found, cleaned and sorted accordingly, making the assembly far easier.
 |
| The vertical stanchions with the base castings bolted between them. You can get a better impression of the frame's construction here. |
The alignment of the frame, so as to have it sit centrally in the box, was the next bit of headscratching. We hit upon jacking between one side wall and the frame itself (using wooden packers), which proved very easy and effective! It was at this point we got a better impression of how everything was going to sit and work.
 |
| Neil, who was actually present to film some of our work, ended up raiding his car for a scissors Jack and joining in! |
By the end of the first day, we had the frame in the correct position, with quadrants fitted above the stanchions, and the rest awaiting fitting.
Coming soon, Day 2..
Coming soon, Day 2..

.jpeg)

As Broomielaw cabin still exists is it not possible to recover the other existing components?
ReplyDelete