Rodding Run: 4 Rods Good...
The rodding run continues to grow, heading towards the signal box steadily. In one of our last blog posts, we explained some of the difficulties in digging down deeper to plant the rodding stools...
 |
| Looking along the rodding from under the footbridge |
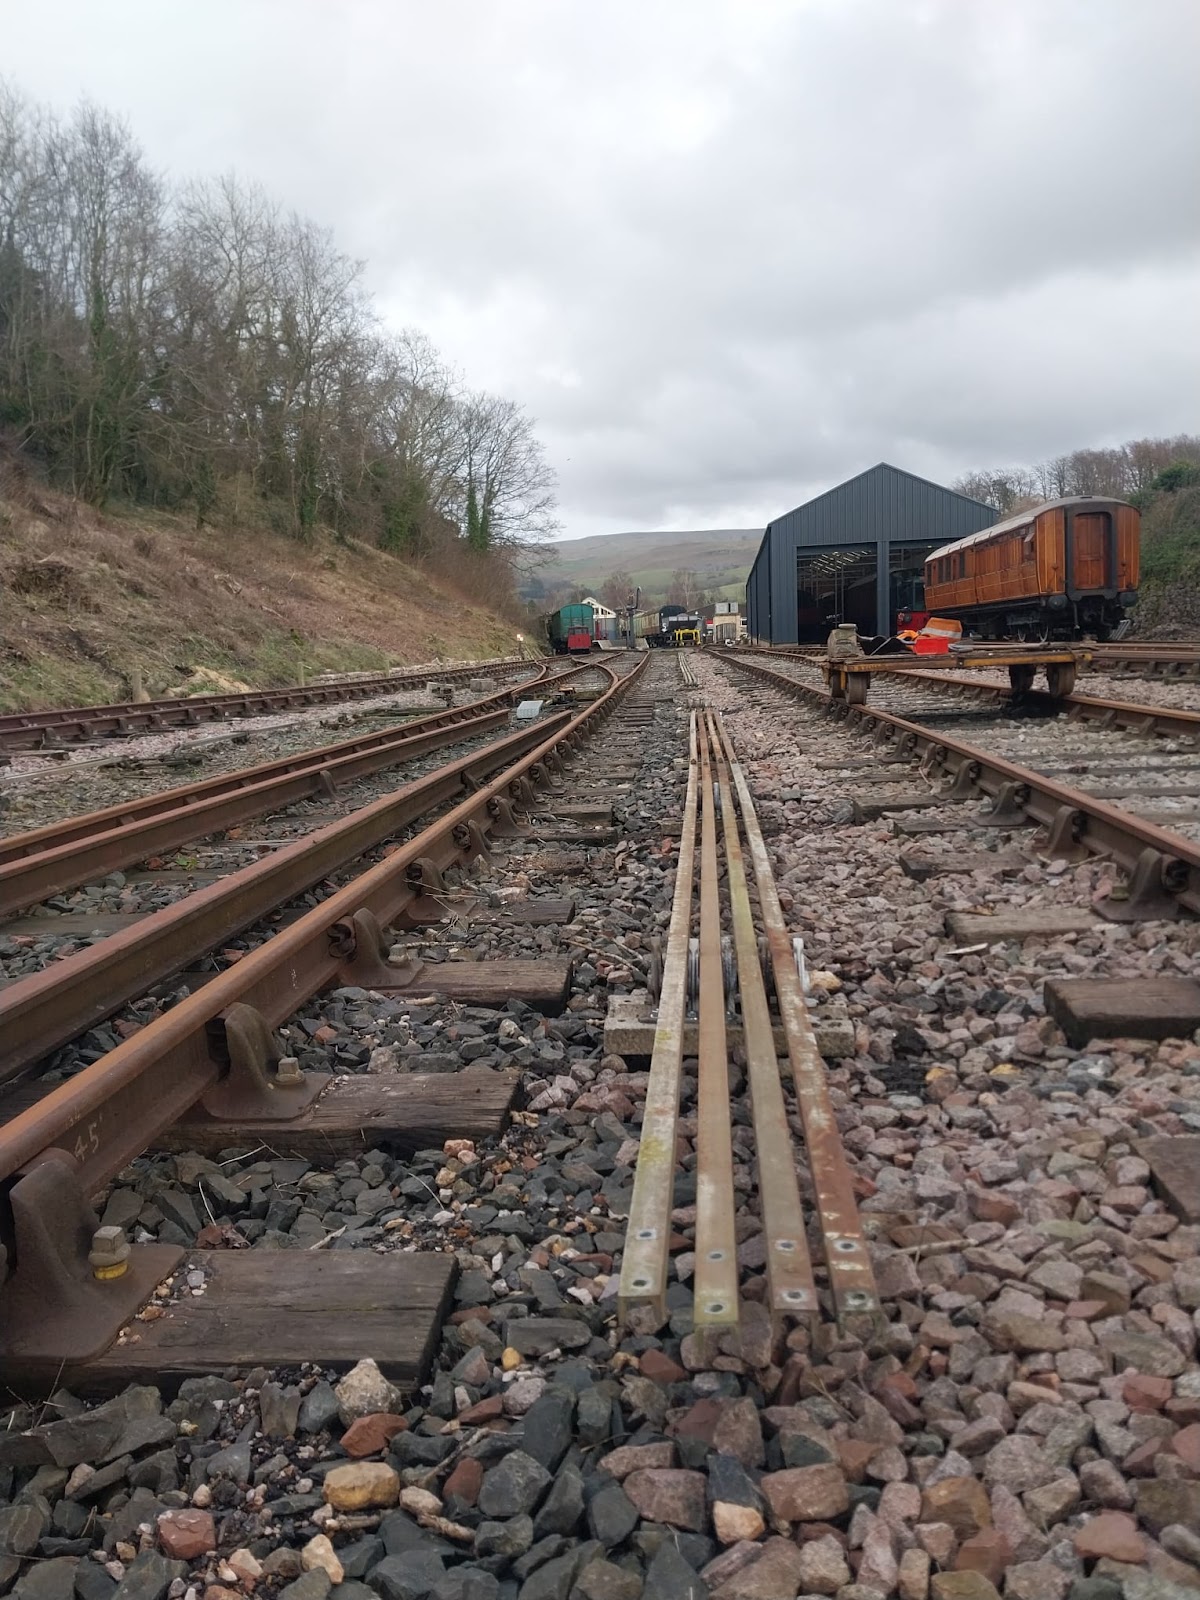
Having successfully planted these, it was time to drop the 4 rods onto them: a job Will had been very keen to tackle! First of all, he completed the installation of the a-frames, which bolt to the concrete stool. Then, it was a case of filling in the remaining hollows around the stools (which had been left to allow the bolts to be swapped over and tightened as required). Finally, the rods were placed into position, on a gentle curve which follows the track. These are not in their final places, longitudinally, as the benches and cranks have yet to be placed. This is why we've not yet fitted the top rollers.
 |
| Looking down at the rodding from the recently-cleared cutting-top. Towards the footbridge, the rodding will cross underneath the track to then run along the wall to the box itself. |
These concrete bench legs will be our next order (concrete bench legs), as well as our next load of mining / digging!
For now though, the four rods are in place: 2 from the box, and 2 from the ground frame for the crossover leading to the turntable road.


Comments
Post a Comment