Bench Planting, And Other Ripping Yarns..
Having removed all the old concrete components that made up the original compensator bench (as detailed in our previous entry....), it was time to assess what we could reuse, how we could use it and where, exactly, it should go.
At the same time, we were also using another pair of recovered concrete legs to form a new bench to take the 2-lever Bridge ground frame (which controls the crossover to the turntable road). Having assessed what was in place already, we decided pretty early on to replace it and upgrade it at the same time as the S&D 200 work. On the face of it, this seems like a case of making more work for ourselves at a time when we have a lot to do. However, the effort required to get the existing installation up to scratch was significant, and tying the two projects together will lead to a much neater finish, as well as being easier to maintain and use!
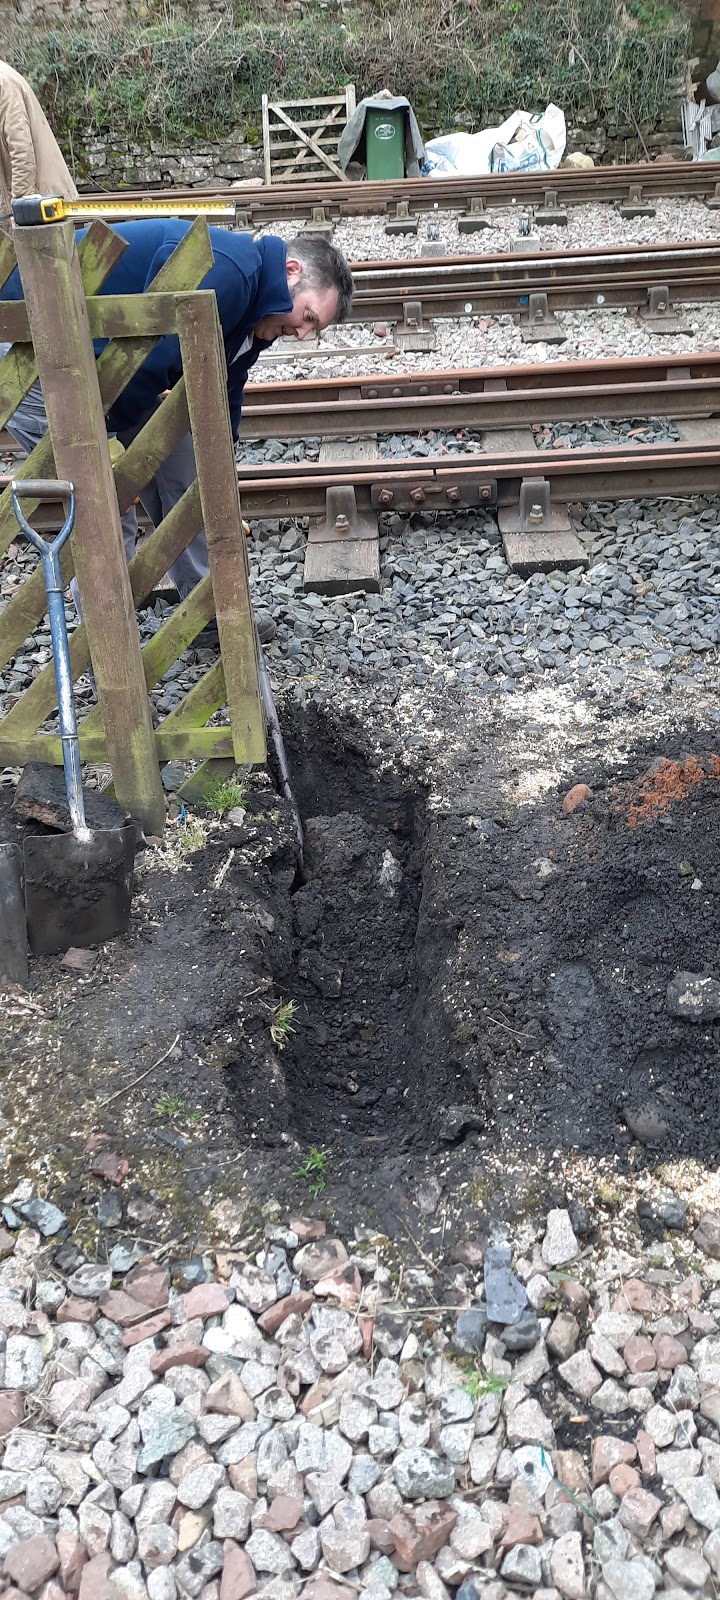 |
| Rough hole / trench dug to receive the leg for the ground frame bench |
Not only does the ground frame have to sit on the first bench, but the two cranks that turn the rodding through 90° to go under the track as well. We had to work backwards from where the rodding can fit under the rails, between sleepers, in order to determine exactly where the legs should go. The cranks need to be bolted through the wooden bench top, so they don't want to line up with where the legs are!! The same is true for the ground frame itself.
 |
| Improvised means of setting the levels for the bench leg! |
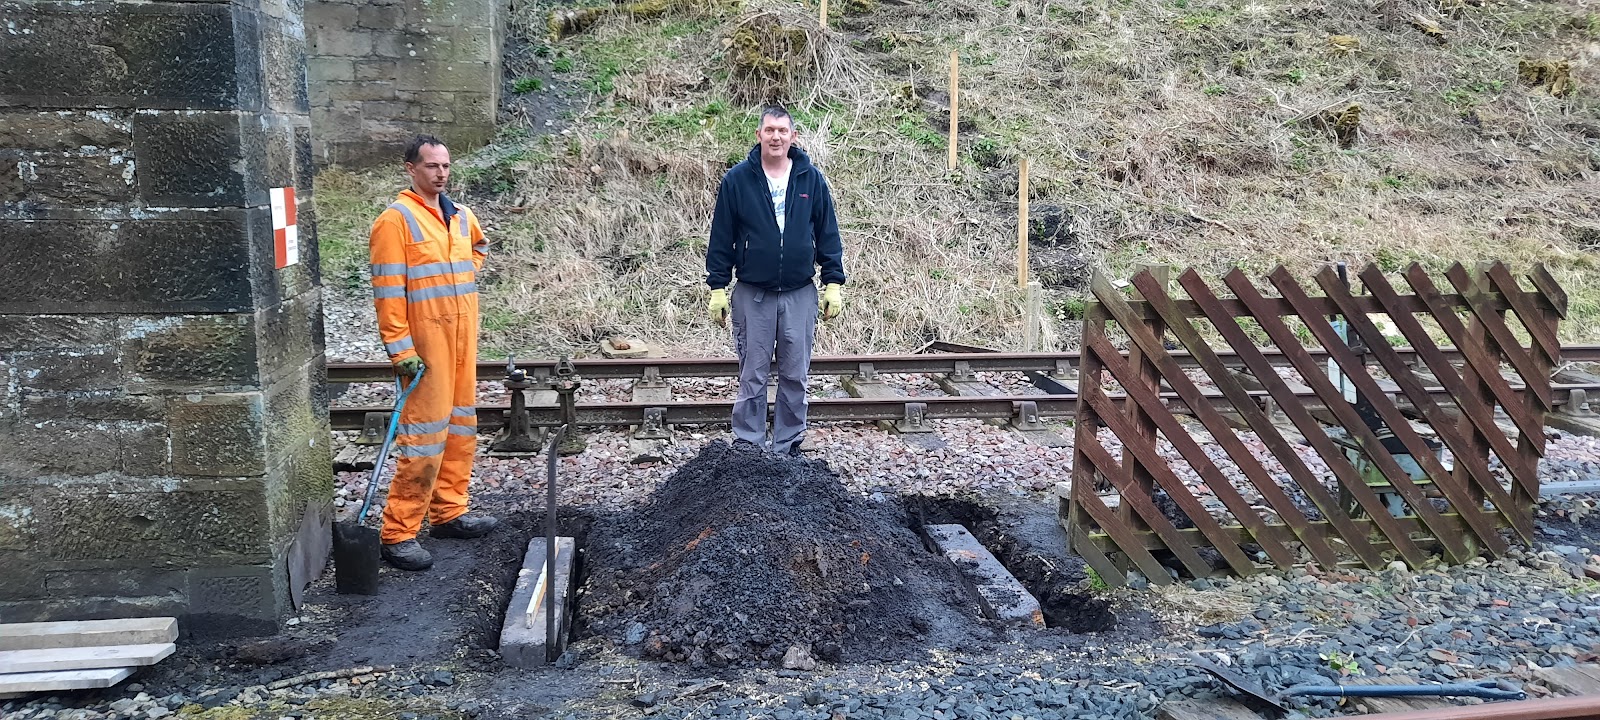 |
| 2 legs planted for the ground frame, awaiting the top sleepers! Matt and Will look on with satisfaction. |
 |
| Earth moving phase 1 completed - we don't want the earth touching the underside of the wooden bench top, AND we need to be able to reach underneath to tighten up the securing bolts... more to be excavated and moved later! |
Having worked out exactly where the legs were going for both the ground frame bench and the second bench (which will take 2 compensators), digging was the order of the day. Large lumps of all sorts were encountered and dealt with, checking the levels repeatedly so as to avoid digging too far (been there, done that, got the tee-shirt)!
All went smoothly, with the ground frame legs planted (one day, maybe, with the correct care, encouragement, nourishment and frequent watering, they'll grow...), levelled up and packed, ready for the sleeper tops. Matt was especially keen to dig and get them in: I needed a little more persuasion!
 |
| Clearing the ballast back for the compensator bench. |
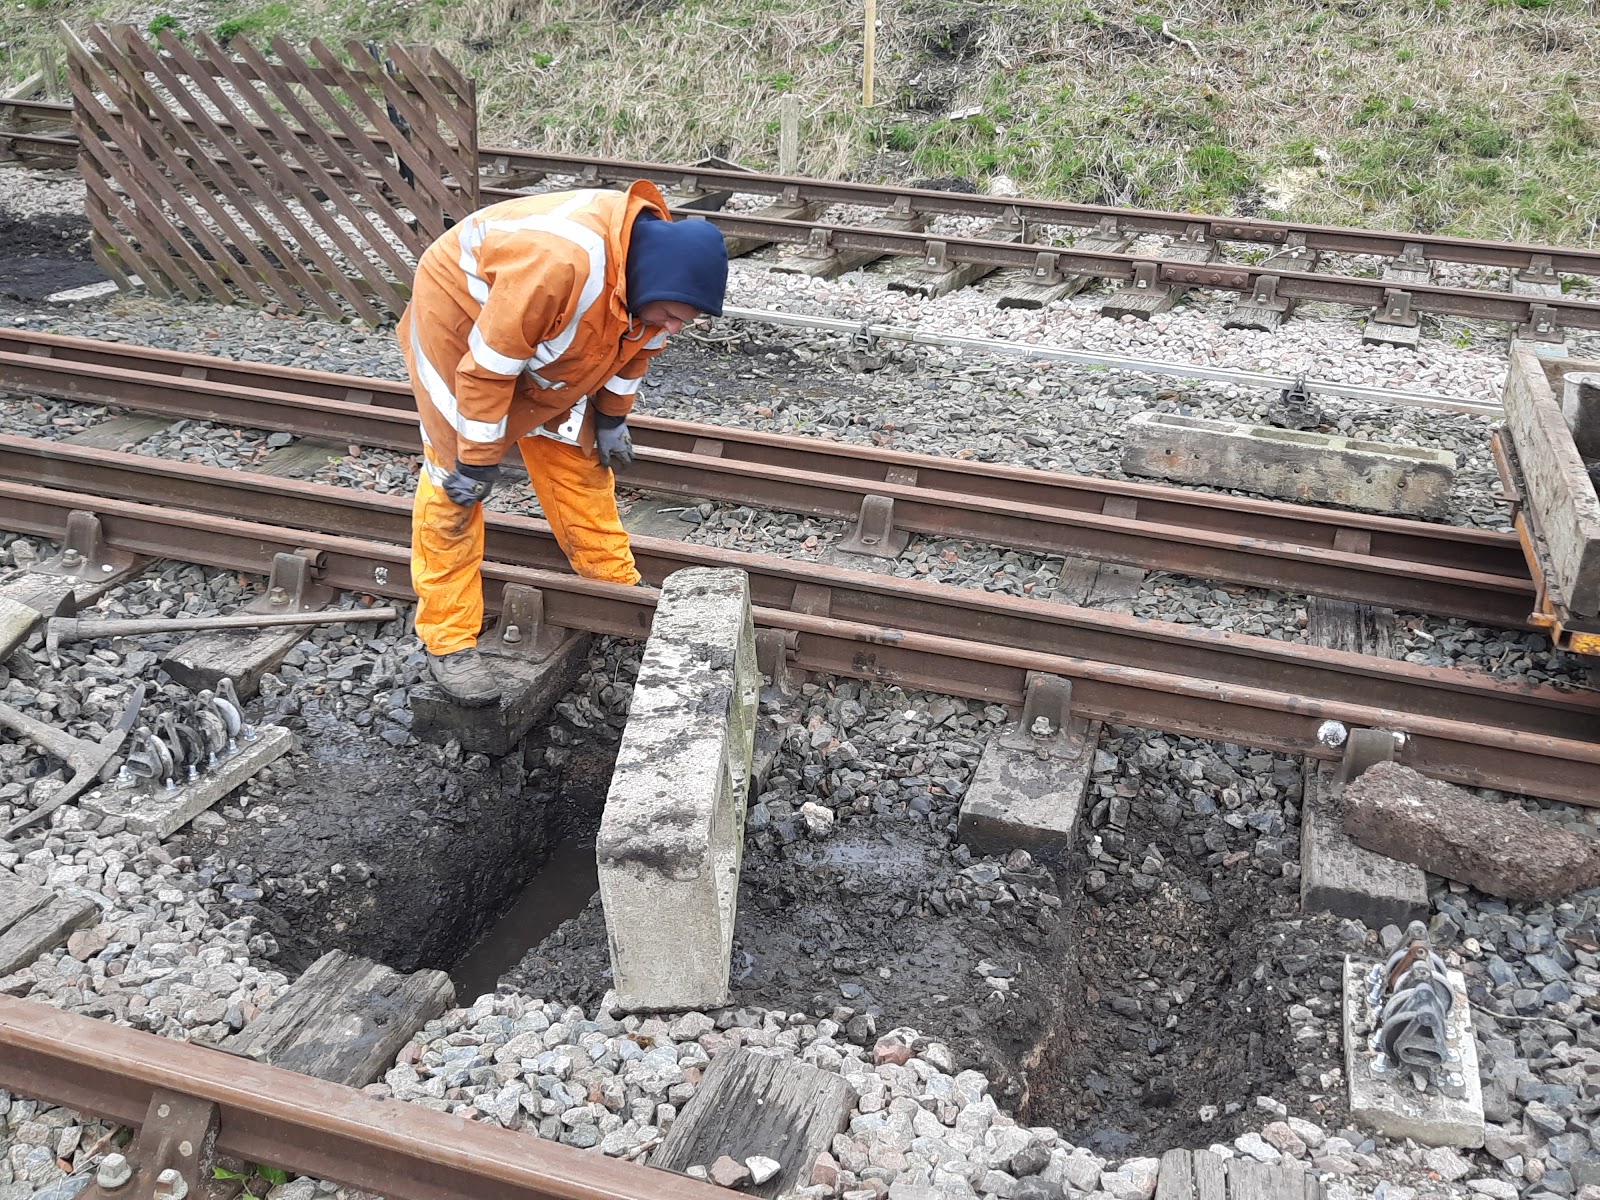 |
| Excavation going well! |
We hit issues, however, with the compensators' bench legs. The first one was ok: it was just a little awkward to dig it in between the Tebay and Eden Valley lines as there isn't much room, and the sleepers don't correspond nicely! When it came to the second, we got almost low enough (the legs are 15" deep, and these need to sit below sleeper level) and found an old sleeper in the way! It was clearly going to be an enormous job to try and extract the whole thing, so we didn't even attempt it.
 |
| Problem! |
Fortunately, Will had a little chainsaw with him that had yet to see any action. Once he'd got it running, it proved surprisingly adept at chopping slots in the sleeper, allowing me to chisel out the wood that was in the way of the leg. Our first attempt at putting the leg in place hit two snags.
 |
| Chainsaw-wielding determination! |
 |
| Chiselling out the remains |
Firstly, as I squatted to lower the leg into the hole carefully, there was a tearing, ripping noise... and my old jeans expired dramatically! (Thank goodness for overalls!!) Secondly, we found the hole wasn't deep enough, so we had to lift it back out of the ground and dig / chainsaw and chisel more out. There was definitely a bit of cursing at this point. And more ripping!
Will cut through the sleeper, stopping short of going all the way, to avoid damaging the new chain, as we had decided to remove more than the bare minimum we needed: just to be on the safe side!
We then lowered the leg in, checked the alignment and levelling, then packed it. My trousers suffered once again, and I stayed in my overalls for the journey home..
 |
| A snug fit - it *JUST* squeezed in the slot we'd cut! |

.jpeg)

Comments
Post a Comment